Google Forms is a go-to place to create forms for online data collection. With Google Forms, you can ctreate surveys, quizzes or let users register for events by filling the form. You can also save the collected data as a spreadsheet to easily access it later.
In WordPress, it is easier to create forms using Form Plugins. However, the plugins may not work for websites built in technologies other than WordPress. Google Forms only requires embedding HTML code so, you can embed the same form on any website. You can also share it across social media platforms and forums.
Let’s see how you can embed a Google Form in WordPress.
Set Up a Google Form
Google Forms provides users with basic tools for creating engaging forms. You can edit text in the form, change the background colors, alter font styles, delete fields and add new ones, etc.
Thanks to Google's AI technology that automatically picks the appropriate form field based on the question you add, creating forms is easier now. In case the AI doesn't present the fields you need, you can select what you need manually.
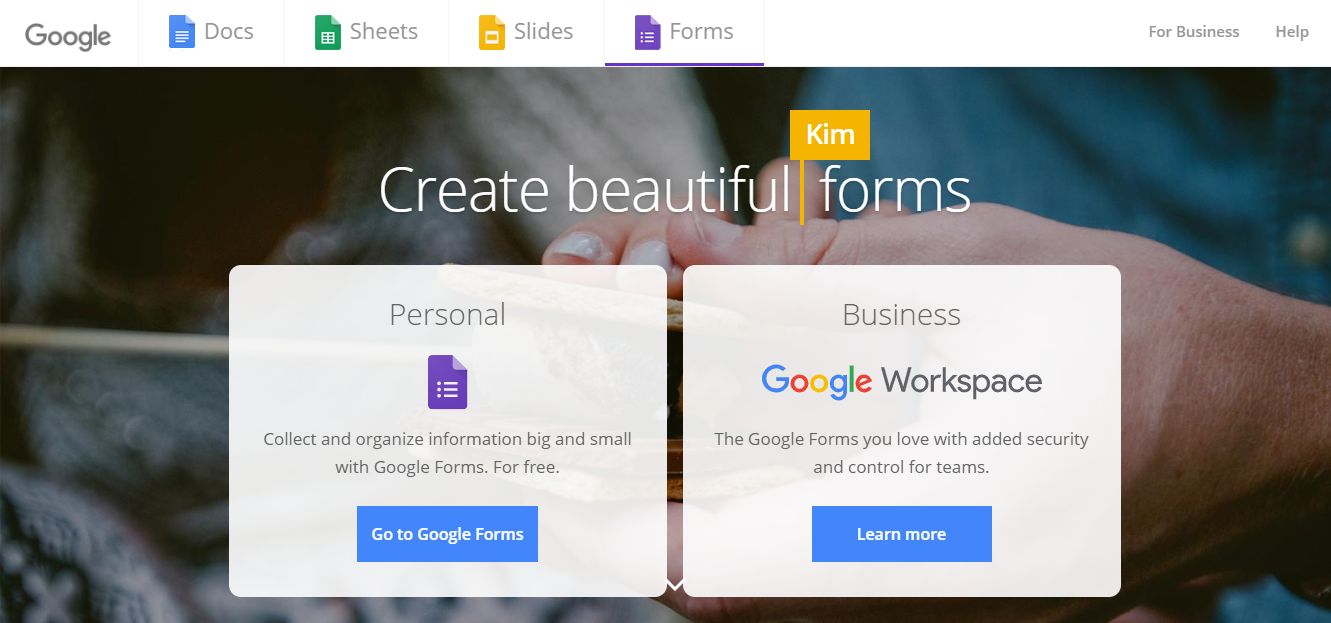
To create a Google form, go to the Google Forms homepage. Then click on Go to Google Forms and you will be able to add sample forms.
You can also choose from several templates readily available in the Template gallery. By selecting any template, you can further customize it by adding new fields to it. However, if you want to build the form from scratch, you can choose Blank.

To make the form more useful, give it a Name and a brief Description. Both of these fields are required first. Only then you can start adding the new form fields.
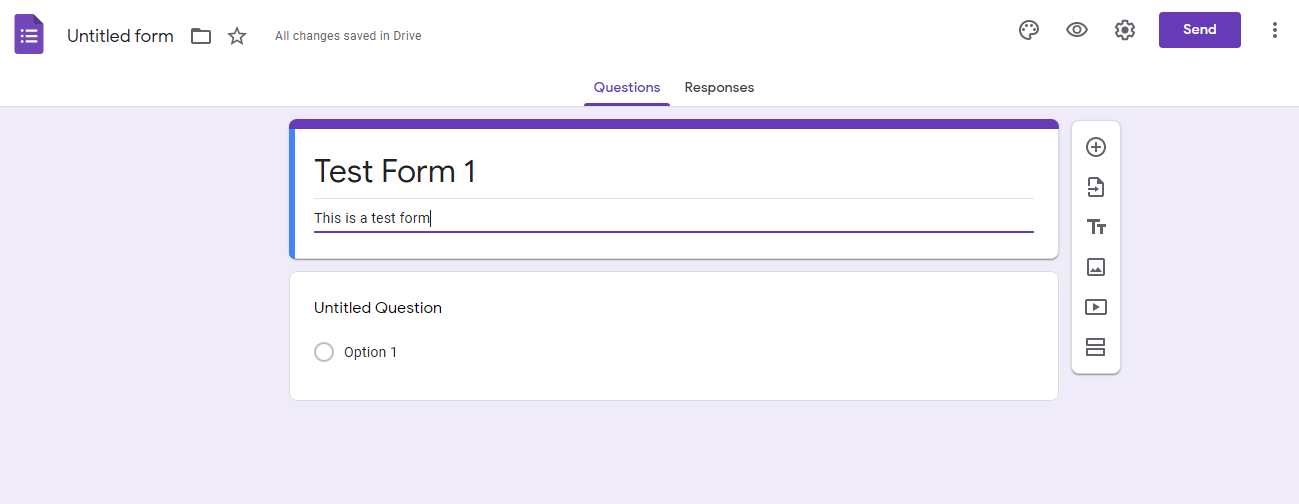
Now, start adding the fields t0 the form according to the data you intend to collect. If the added text is straightforward, the form will automatically modify the field based on your question.
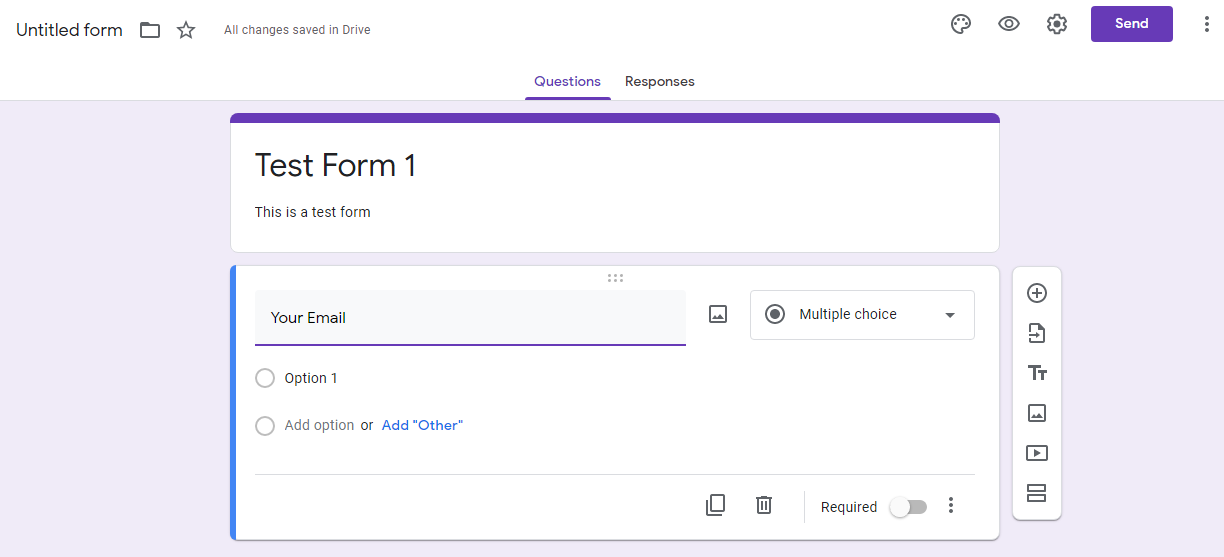
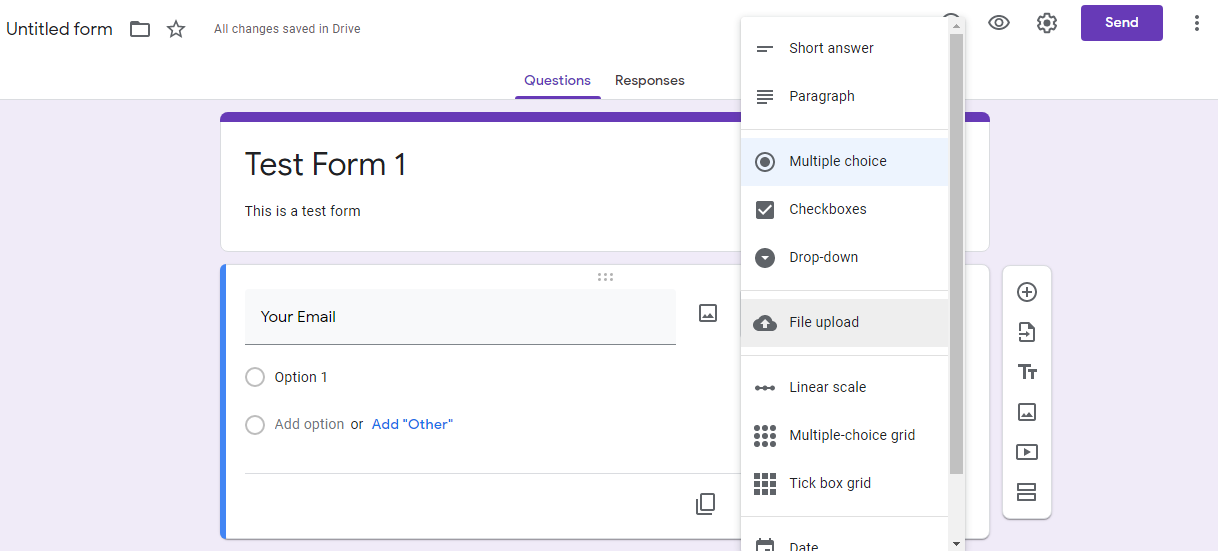
With the options available, you can select the response type to be a short answer, a single line sentence, or a multiple choice.
By clicking on the Add button, you can add a new form field. Other than adding text, you can also embed images and videos in your questions.
After making the basic changes, you can use the visual editor to see how the form will look from the front end.
If you wish to add more questions, simply click the + symbol on the right.
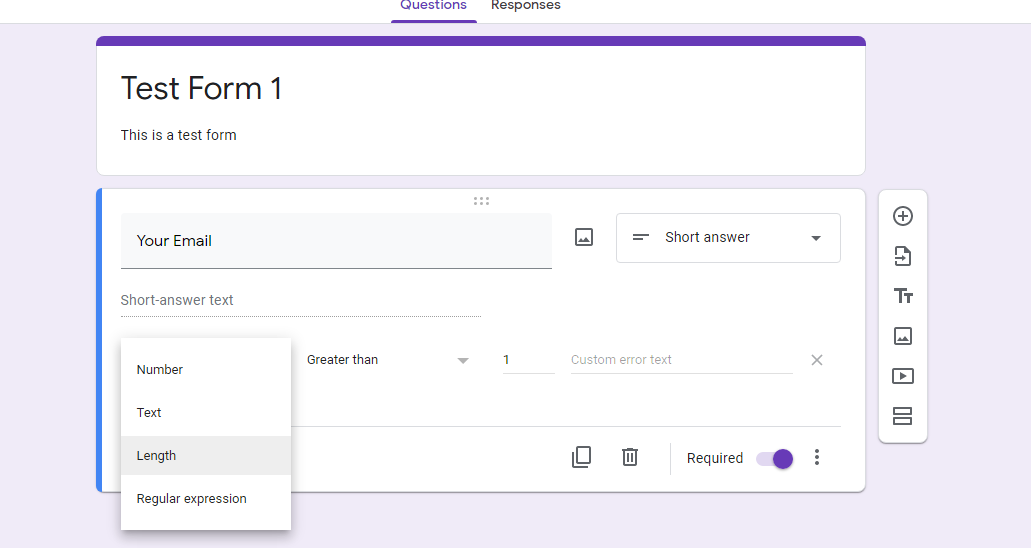
Enabling Limit to One Response per Person
By clicking on the settings icon, you can limit the audience to submit the form once. For this, enable the Limit to one response option.
By default, this option is disabled so one person may submit the form more than once.
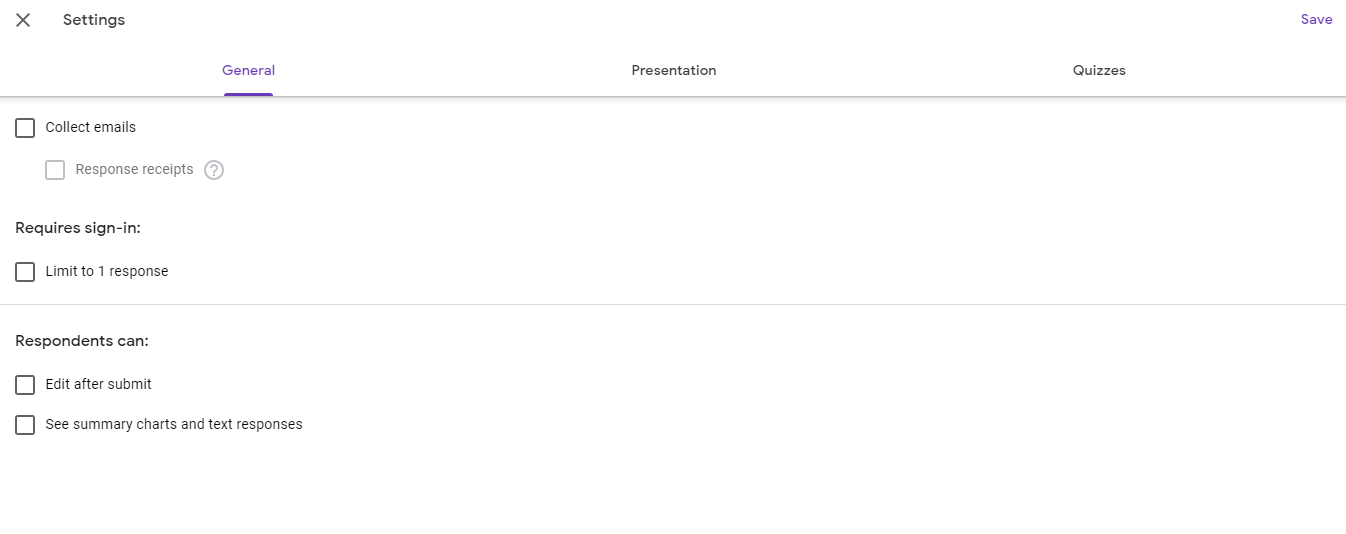
Click Save when you've chosen your option. Your form has now been created successfully with one time access to an individual.
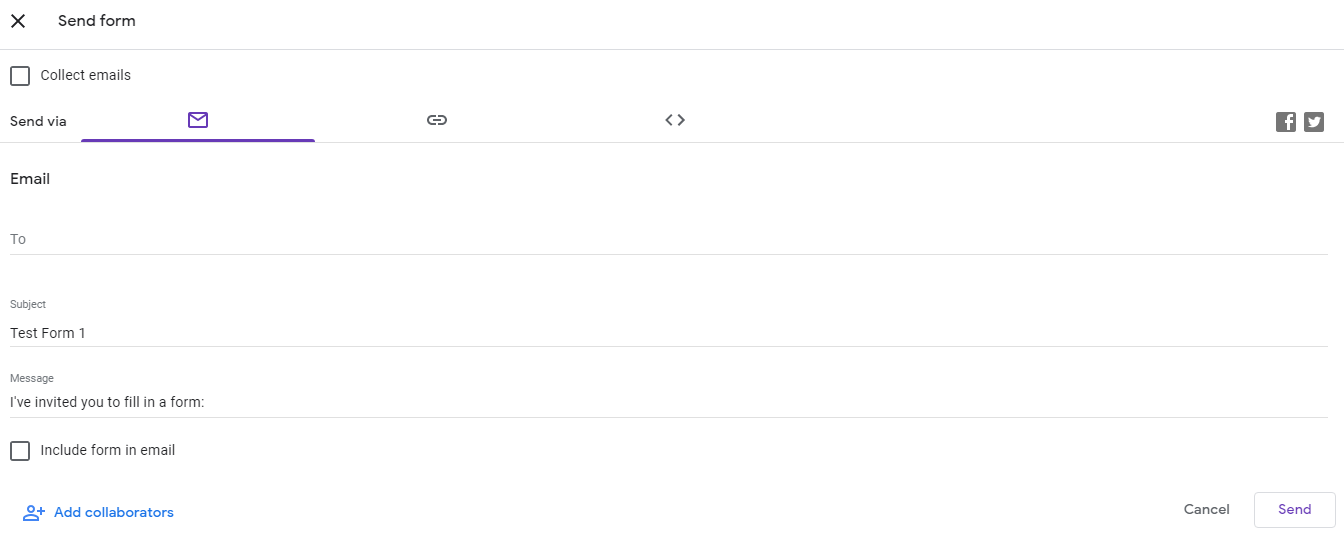
Copying the Embed Form Link
Once you have successfully created the form, the next step is to embed it on your website. Let’s find out how you can embed it.
- Click on the Send button in the top right of the screen.
- A pop-up window will appear showing you the HTML code for your form.
- Click on the Embed tab to Copy the embed code.
You can also directly share the code to your Gmail account or save it to share externally.
Embedding the Google Form Into a Page
Now that you have the embed code copied, you can paste it into your WordPress website. To embed the code, you have to create a new post/page and paste it in. You can also add it by editing any of your existing pages/posts.
- Go to the WordPress admin area of your website to edit the page or post where you want to display the form.
- To add a new post or page, click on post or page in your WordPress dashboard and select Add New.
- Input a name for the post.
- Click on the Add Block icon on the right side of your post.
- Choose Custom HTML from the available blocks in the menu.
- Paste the copied HTML code into this newly created HTML block.
- Publish the page/post with the Publish Button.

Don’t forget to add relevant permalink so the form may not get mixed with other posts/pages on your website. Afterward, you can view the form by clicking the View Page option within the settings.
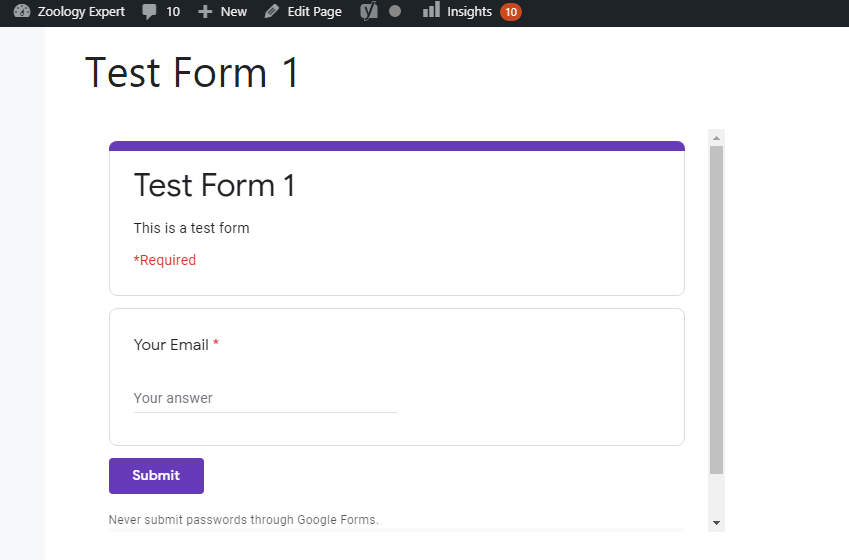
How to Remove the Scrollbar
You probably want your shiny new form to appear on your website in a perfect size and shape. It’s necessary to engage the audience regardless of whether you're making a simple contact form or a visitor survey.
For instance, if the content inside the frame is too large, the form may get cut off. This results in a poor user experience.
To make the form more user-friendly, follow the steps below to remove the scrollbar.
- Go back to the page where you posted the embed link.
- Modify the HTML code by changing the dimensions and increasing the height value in the code.
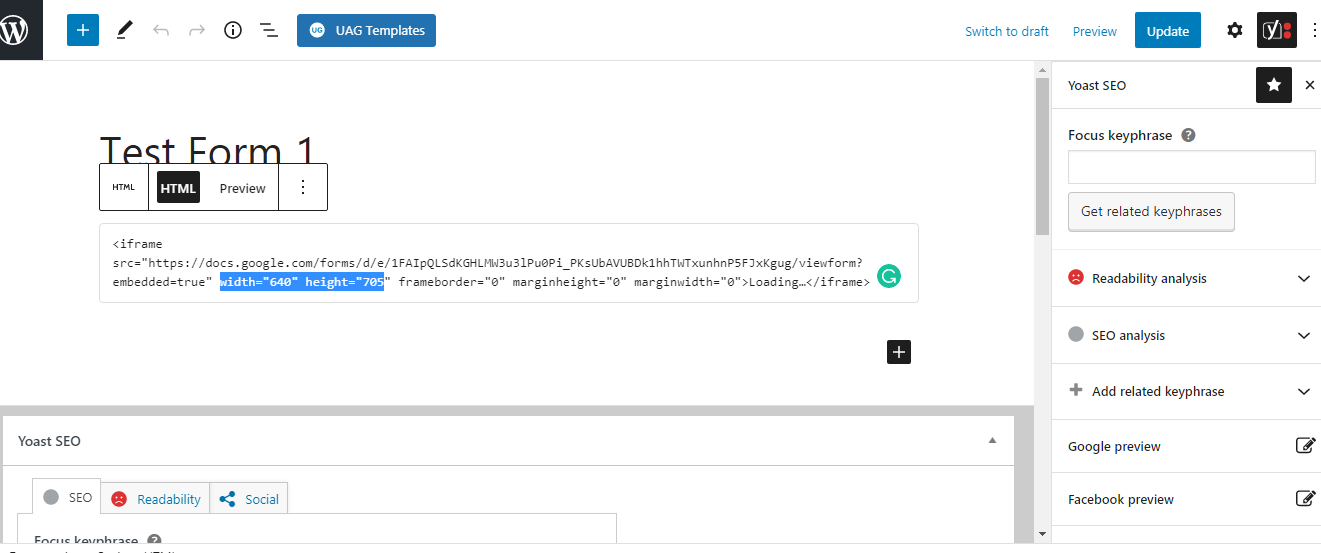
Make sure you update the page once you've completed the process.
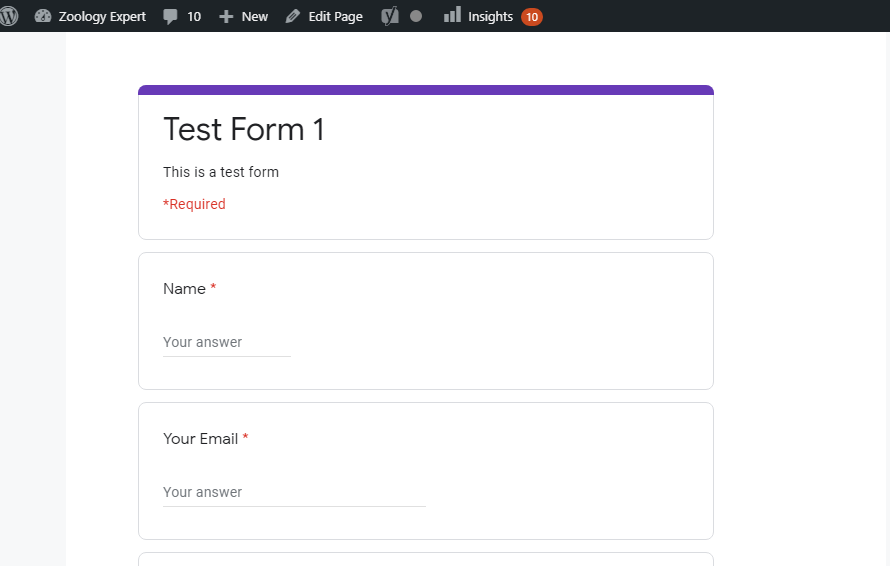
How to Check Submitted Responses From Visitors
- Go to Google Forms.
- Click on Responses.
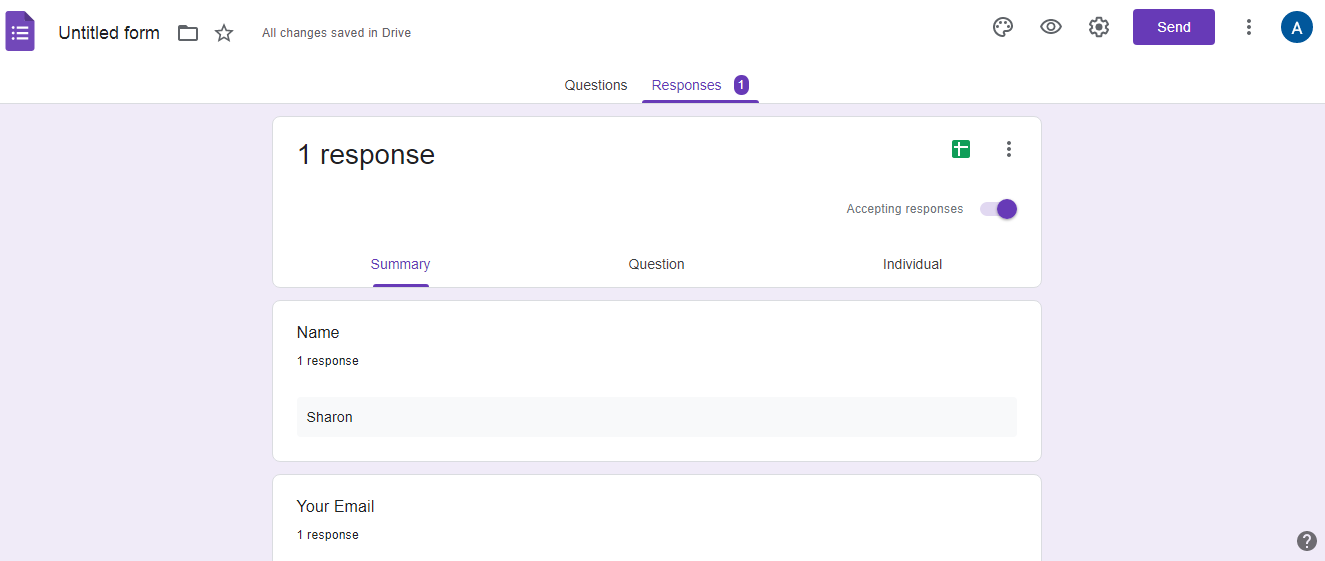
Your collected responses are listed here.
Additionally, you can convert the submitted responses to a spreadsheet and save them for future reference. Simply click on the spreadsheet icon right at the top right corner.
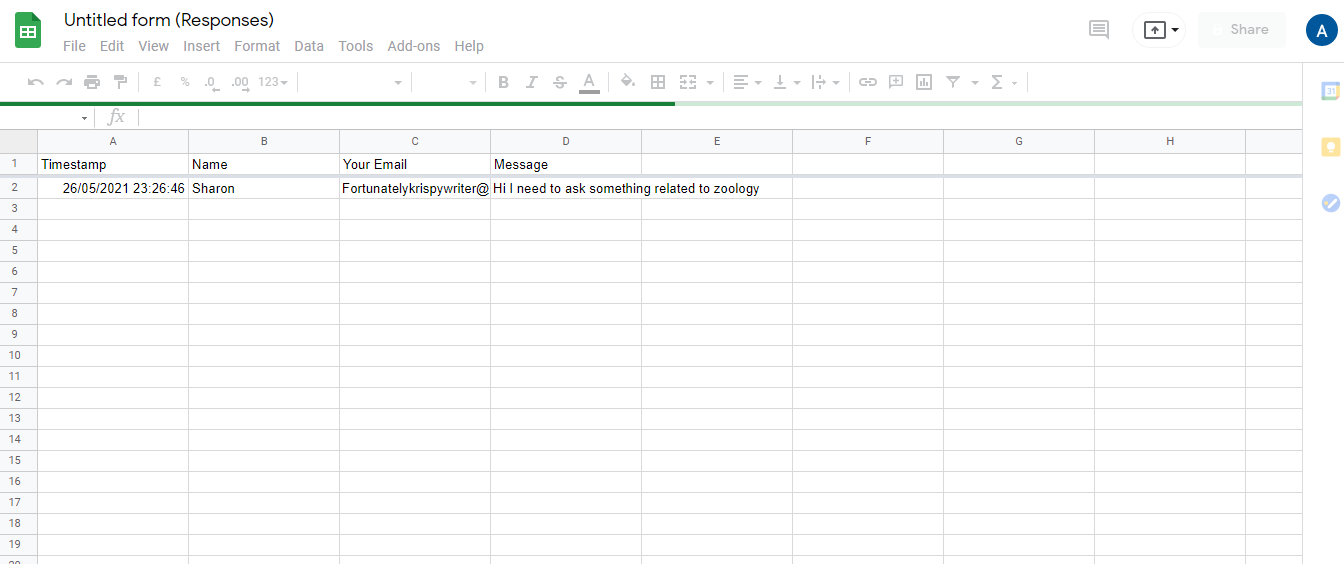
You can also connect the form with your Gmail account. This way, instead of checking Google Forms each time for responses, you will be notified of the new responses via email.
How to Get an Email Notification
- Select Add-ons from the Google Forms menu.
- Search for Email Notifications for Google Forms.
- Select the Email Notifications for Google Forms.
- Install this add-on and click Continue.
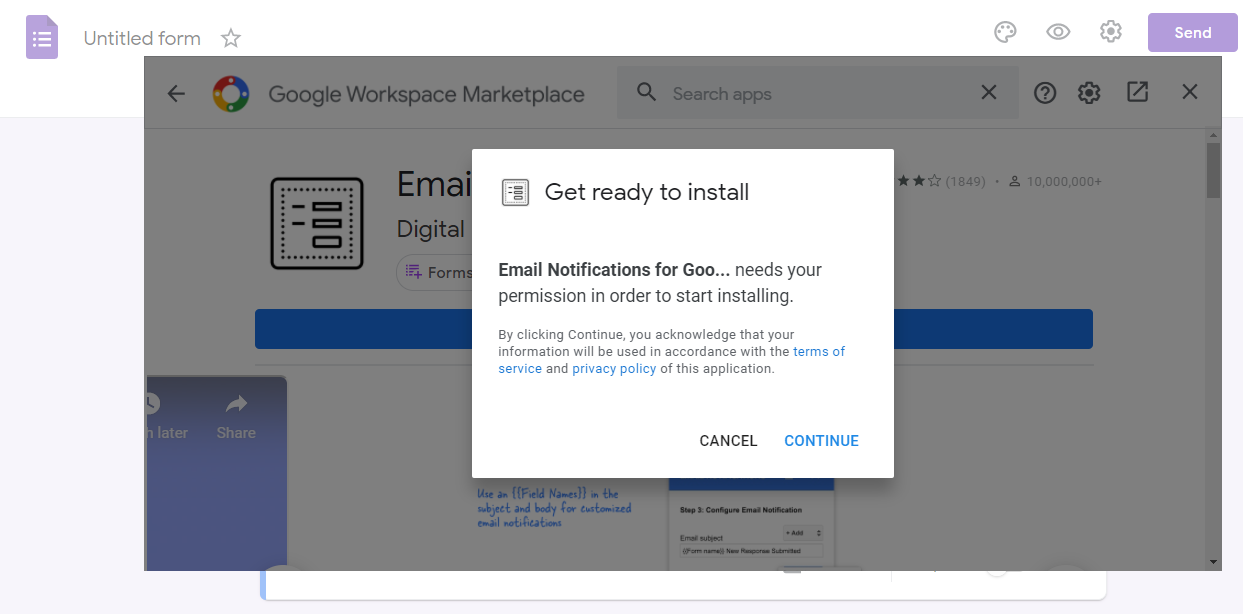
A new tab will open up asking you to connect your Gmail account.
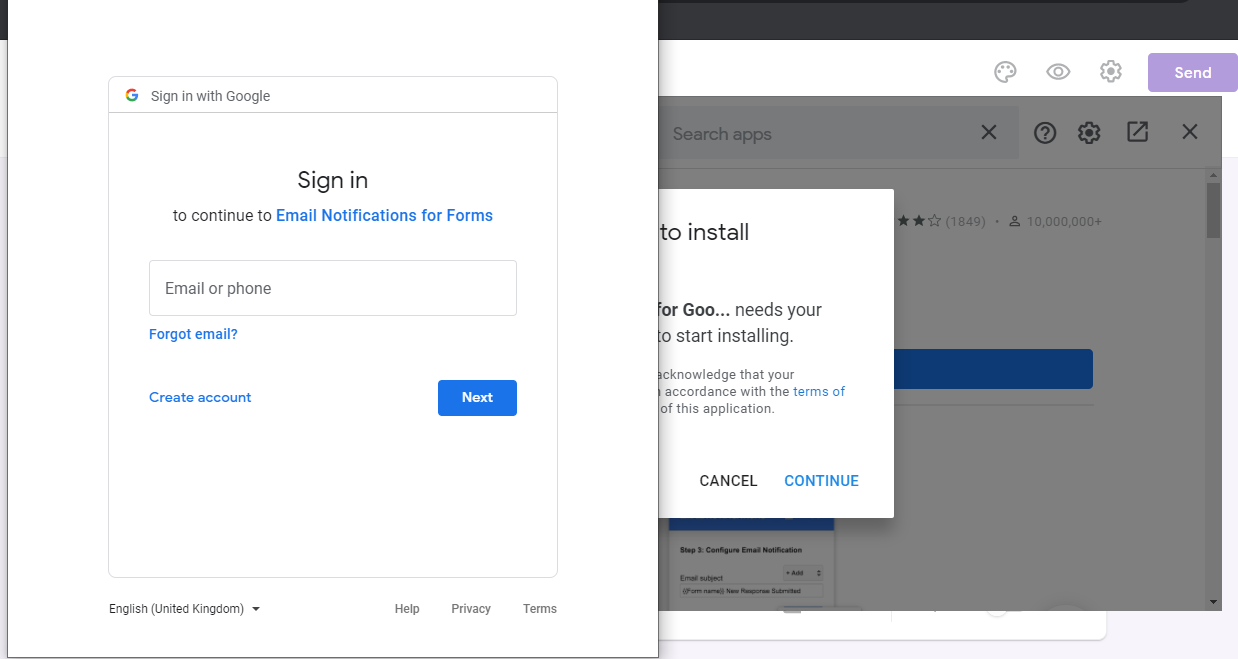
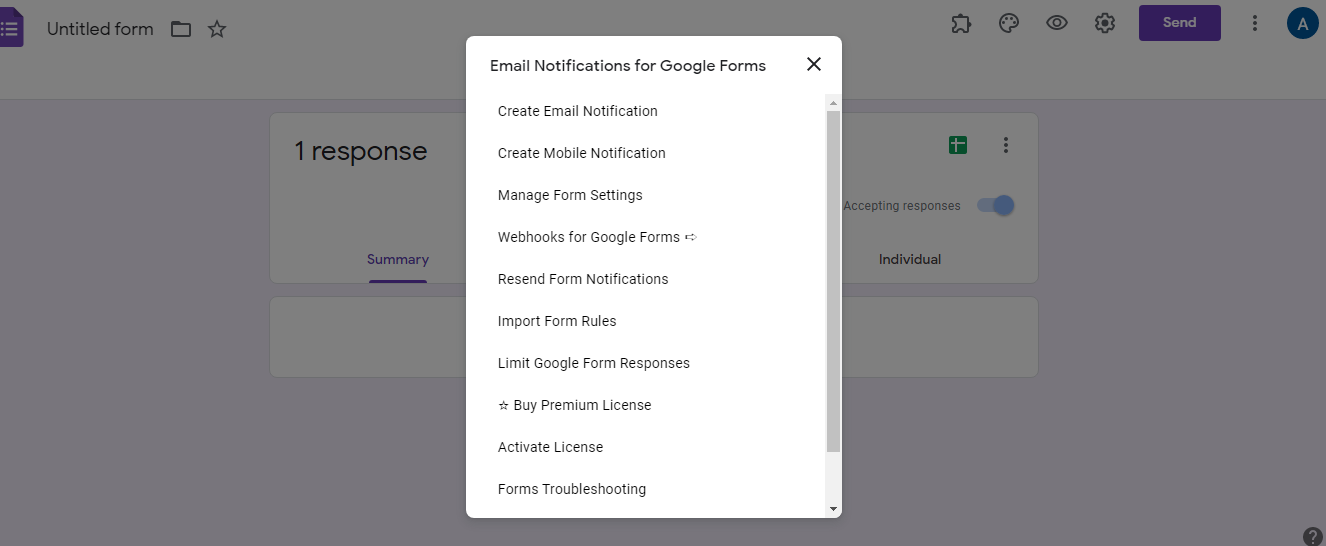
After connecting your Gmail account, click on the Add-on icon in the settings menu.

You will now see a notification box if you select Create Email Notification.
Lastly, create rules for receiving email notifications and then click Save.
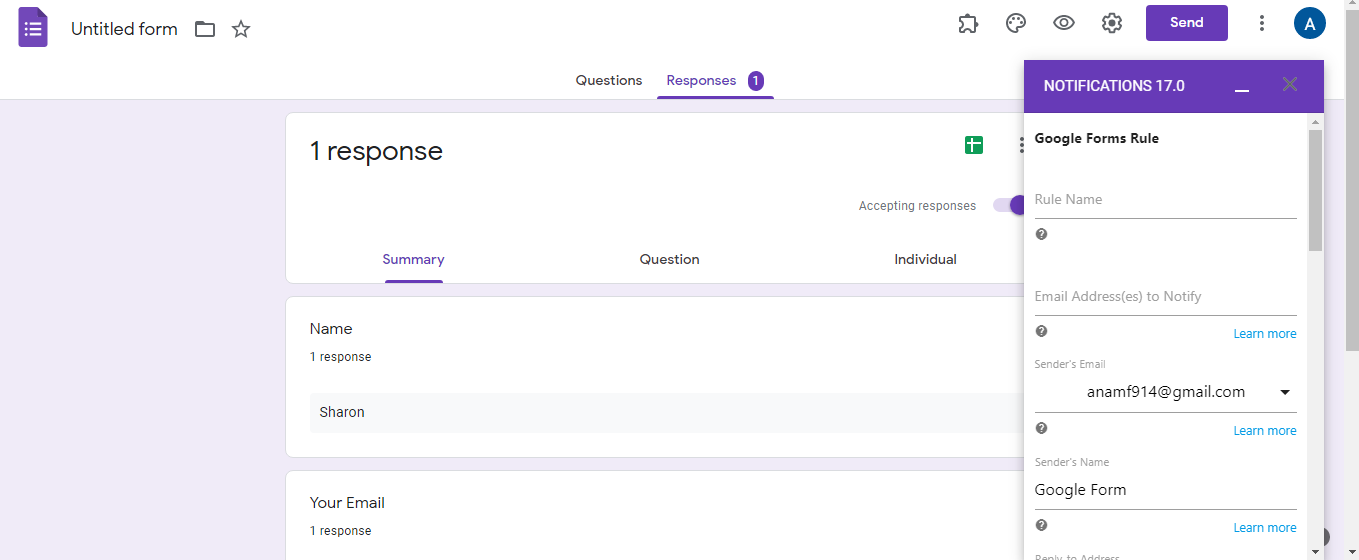
In this way, you will be notified every time somebody fills the form.
Integrate Google Forms With WordPress
Creating Google Forms is the simplest way to collect data online. You can embed them on your website, share the same form on multiple platforms, use for online job application on your company website, or even share it on social media.
If you want to embed Google form on a single WordPress website, using Form Plugins will be more suitable. Go with Google Forms while embedding the same form on multiple platforms at the same time.
0 Comments