When you see a landscape or cityscape photo with a predominantly blue color pallet, chances are, it was taken during blue hour. Many people have heard of golden hour photography, but blue hour doesn't seem to get the same recognition—but it should.
Blue hour occurs before and after golden hour, and its lighting conditions allow photographers to capture emotive and breathtaking images.
In this article, we're going to explain what blue hour is and when it occurs. We'll also go over some techniques to get the perfect shot during this time.
What Is Blue Hour?
Blue hour is a term that describes the lighting conditions of the atmosphere right before sunrise and right after sunset when the sun is below the horizon. It's also referred to as twilight, or dawn (in the morning), and dusk (in the evening).
The atmosphere is various colors of blue due to a scattering effect—blue light scatters more because of its short wavelength. As a result of the sun's position below the horizon, there is no medium for the non-blue, unscattered light to travel through, so it disappears into space.
The blue hour color spectrum is typically present when the sun is four to eight degrees below the horizon, and therefore spans over both nautical twilight and civil twilight.
Nautical Twilight
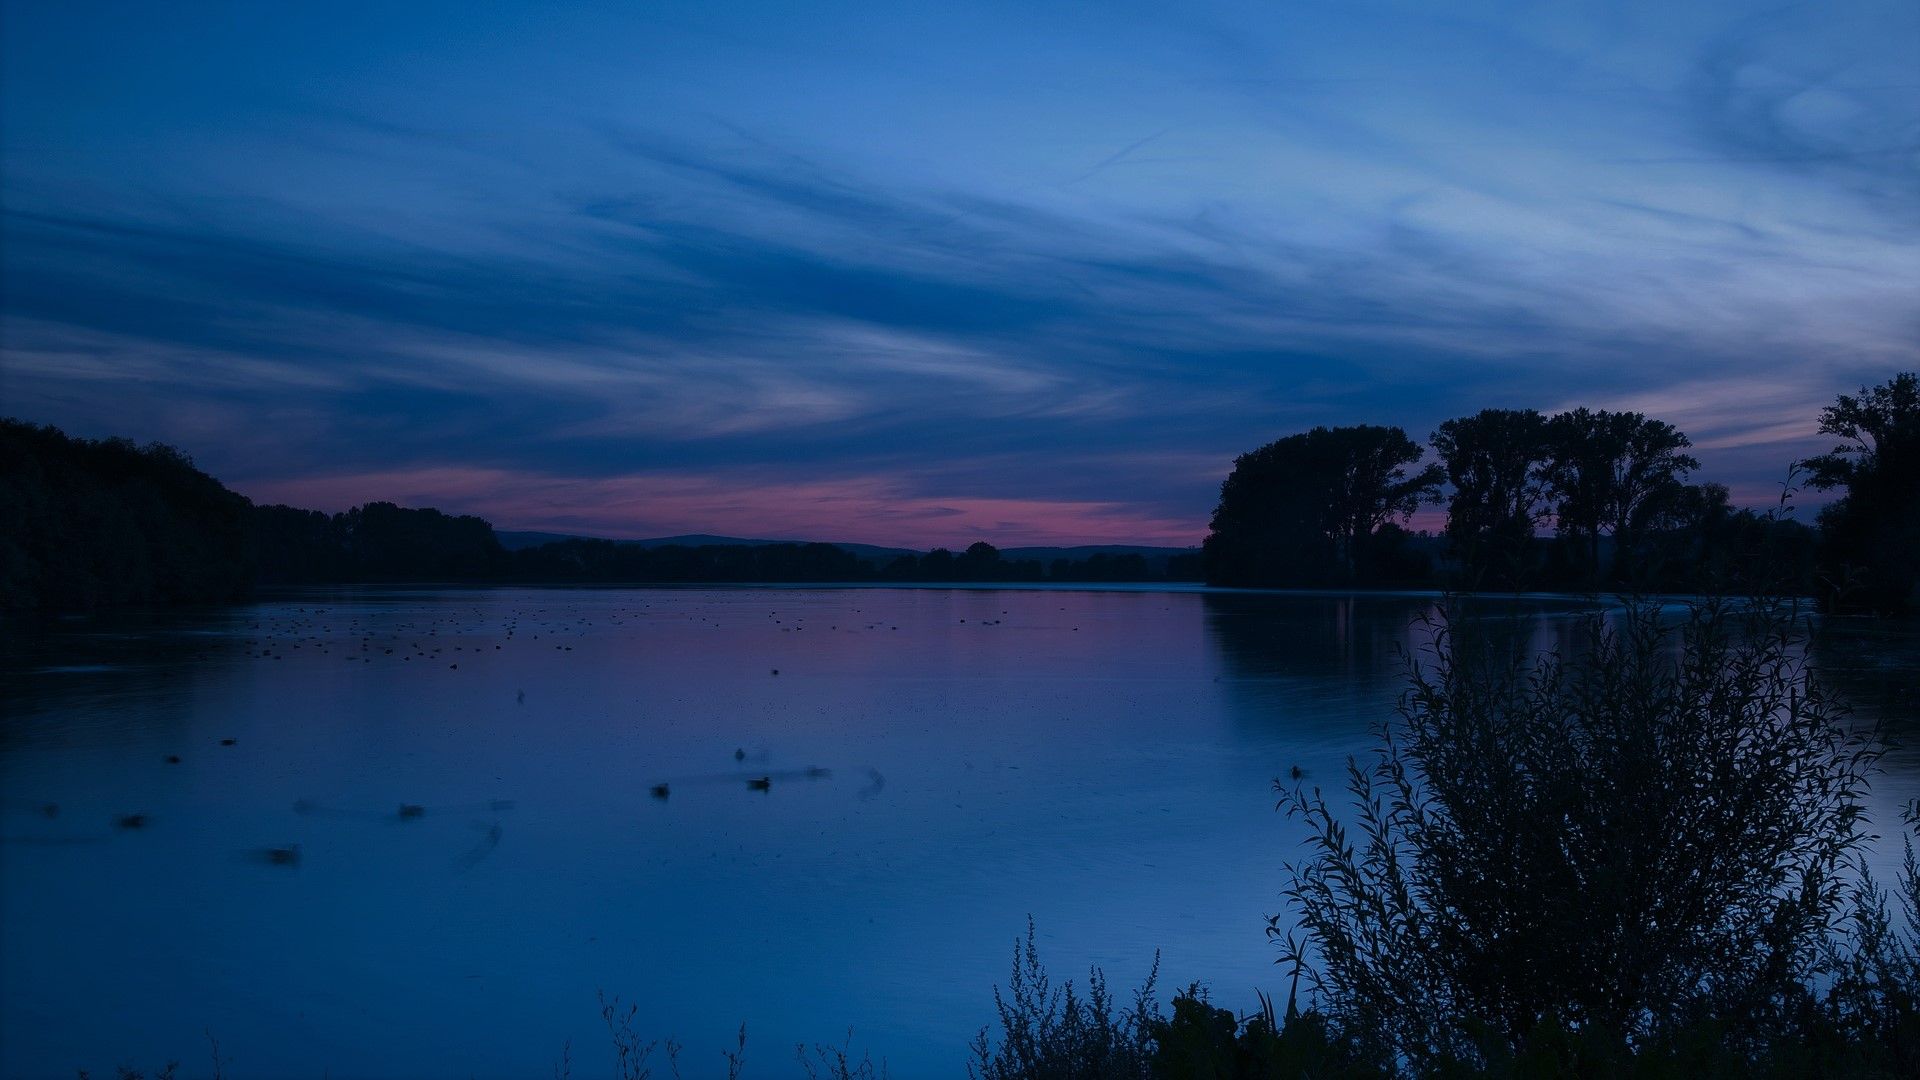
During nautical twilight, the center of the sun is between six and 12 degrees below the horizon. The atmosphere's color cast is deep shades of blue, and some of the brighter stars can still be seen. There is just about enough light to see the horizon, and you'll have difficulty making out the details of subjects.
Civil Twilight
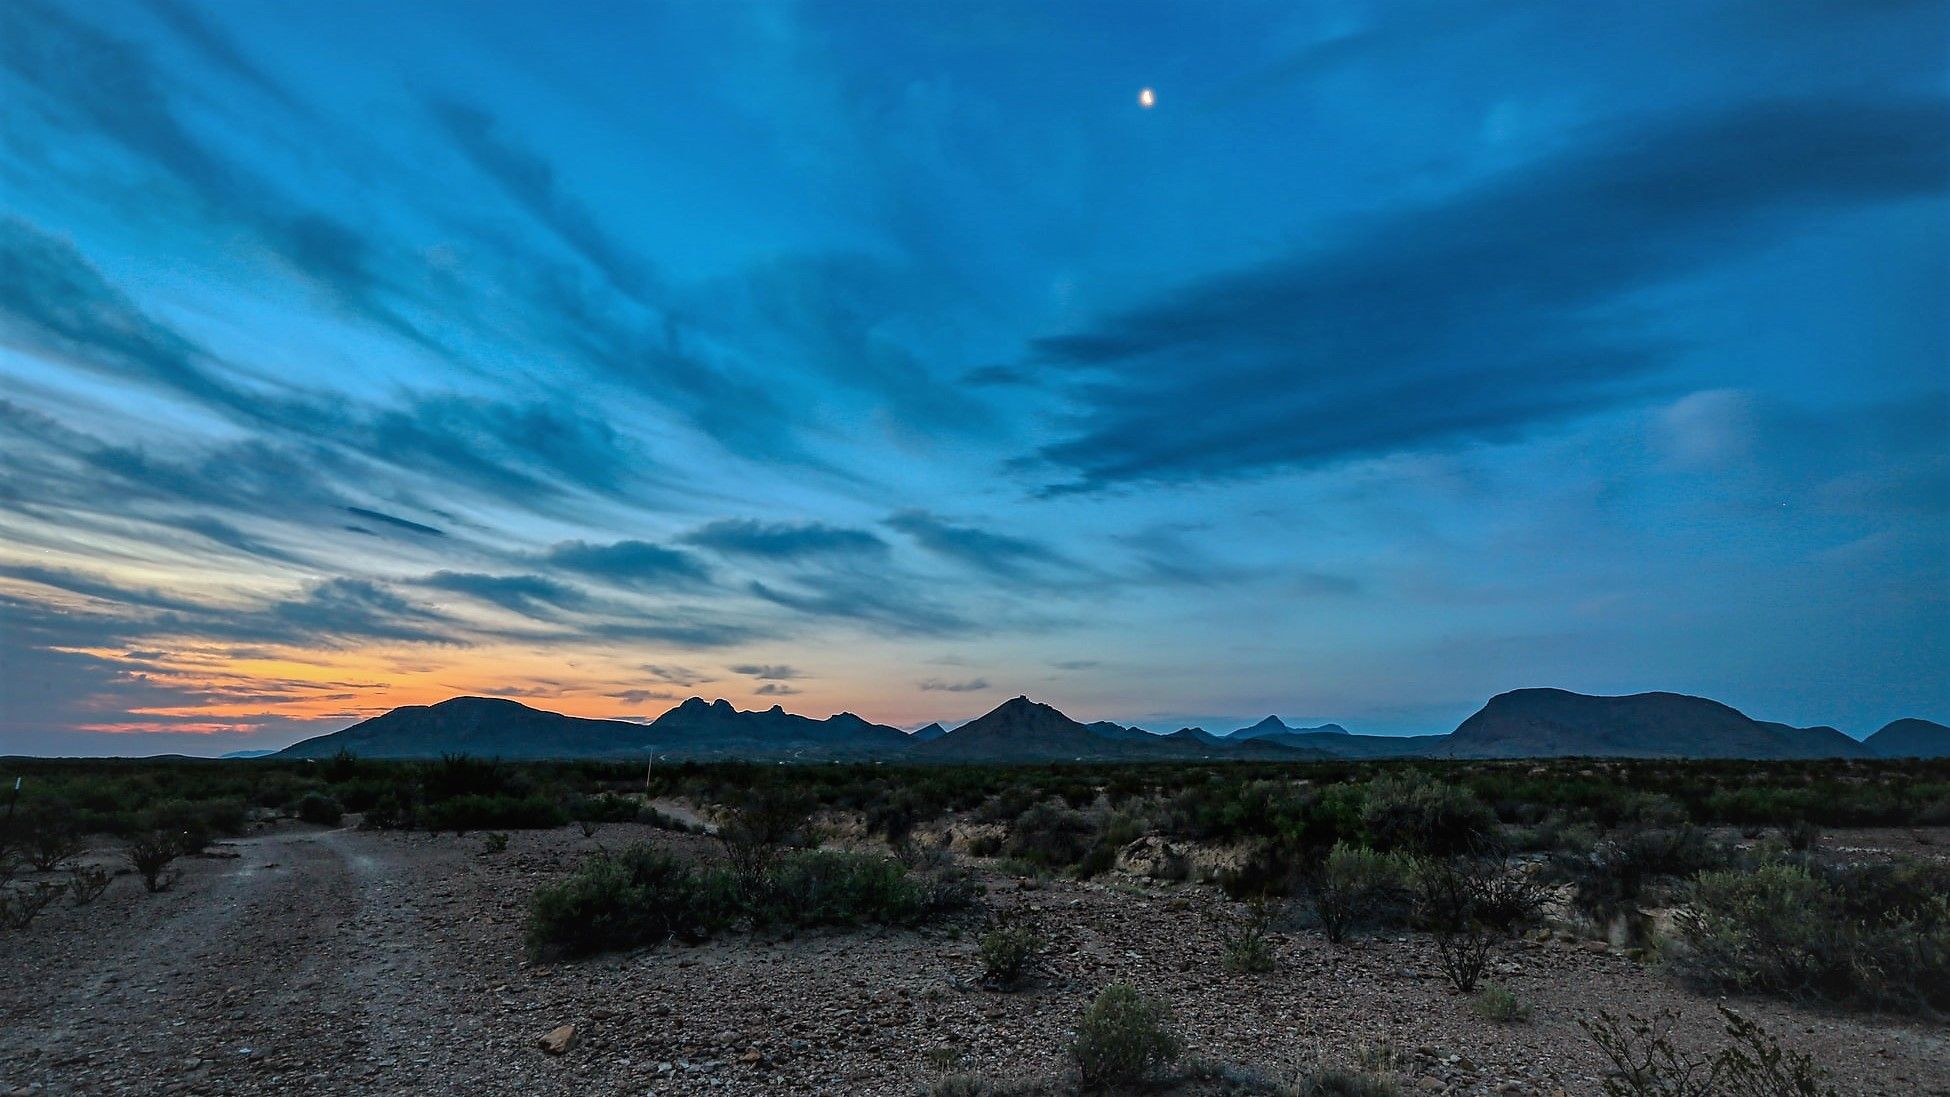
Civil twilight is when the center of the sun is between six and zero degrees below the horizon. It's the brightest part of twilight, and the horizon and subjects are more easily discernable. During civil twilight, the color cast of the atmosphere will change quickly from darker blues to brighter purples and reds.
When Is Blue Hour?
The beginning, end, and duration of blue hour are determined by the season and your latitude. The time it takes the sun to move from eight to four degrees below the horizon (or from four to eight degrees) will depend on how close you are to the equator.
For example, in Gabon, blue hour can be as swift as 15 minutes, while in Norway, it can last longer than an hour.
What Makes Blue Hour So Special?
There are a few reasons why photographers might opt for shooting during blue hour, and most of them have to do with emotion. Emotional photography is likely to give your work more exposure, so blue hour is a great opportunity to capitalize on the following elements.
A Rare Sight
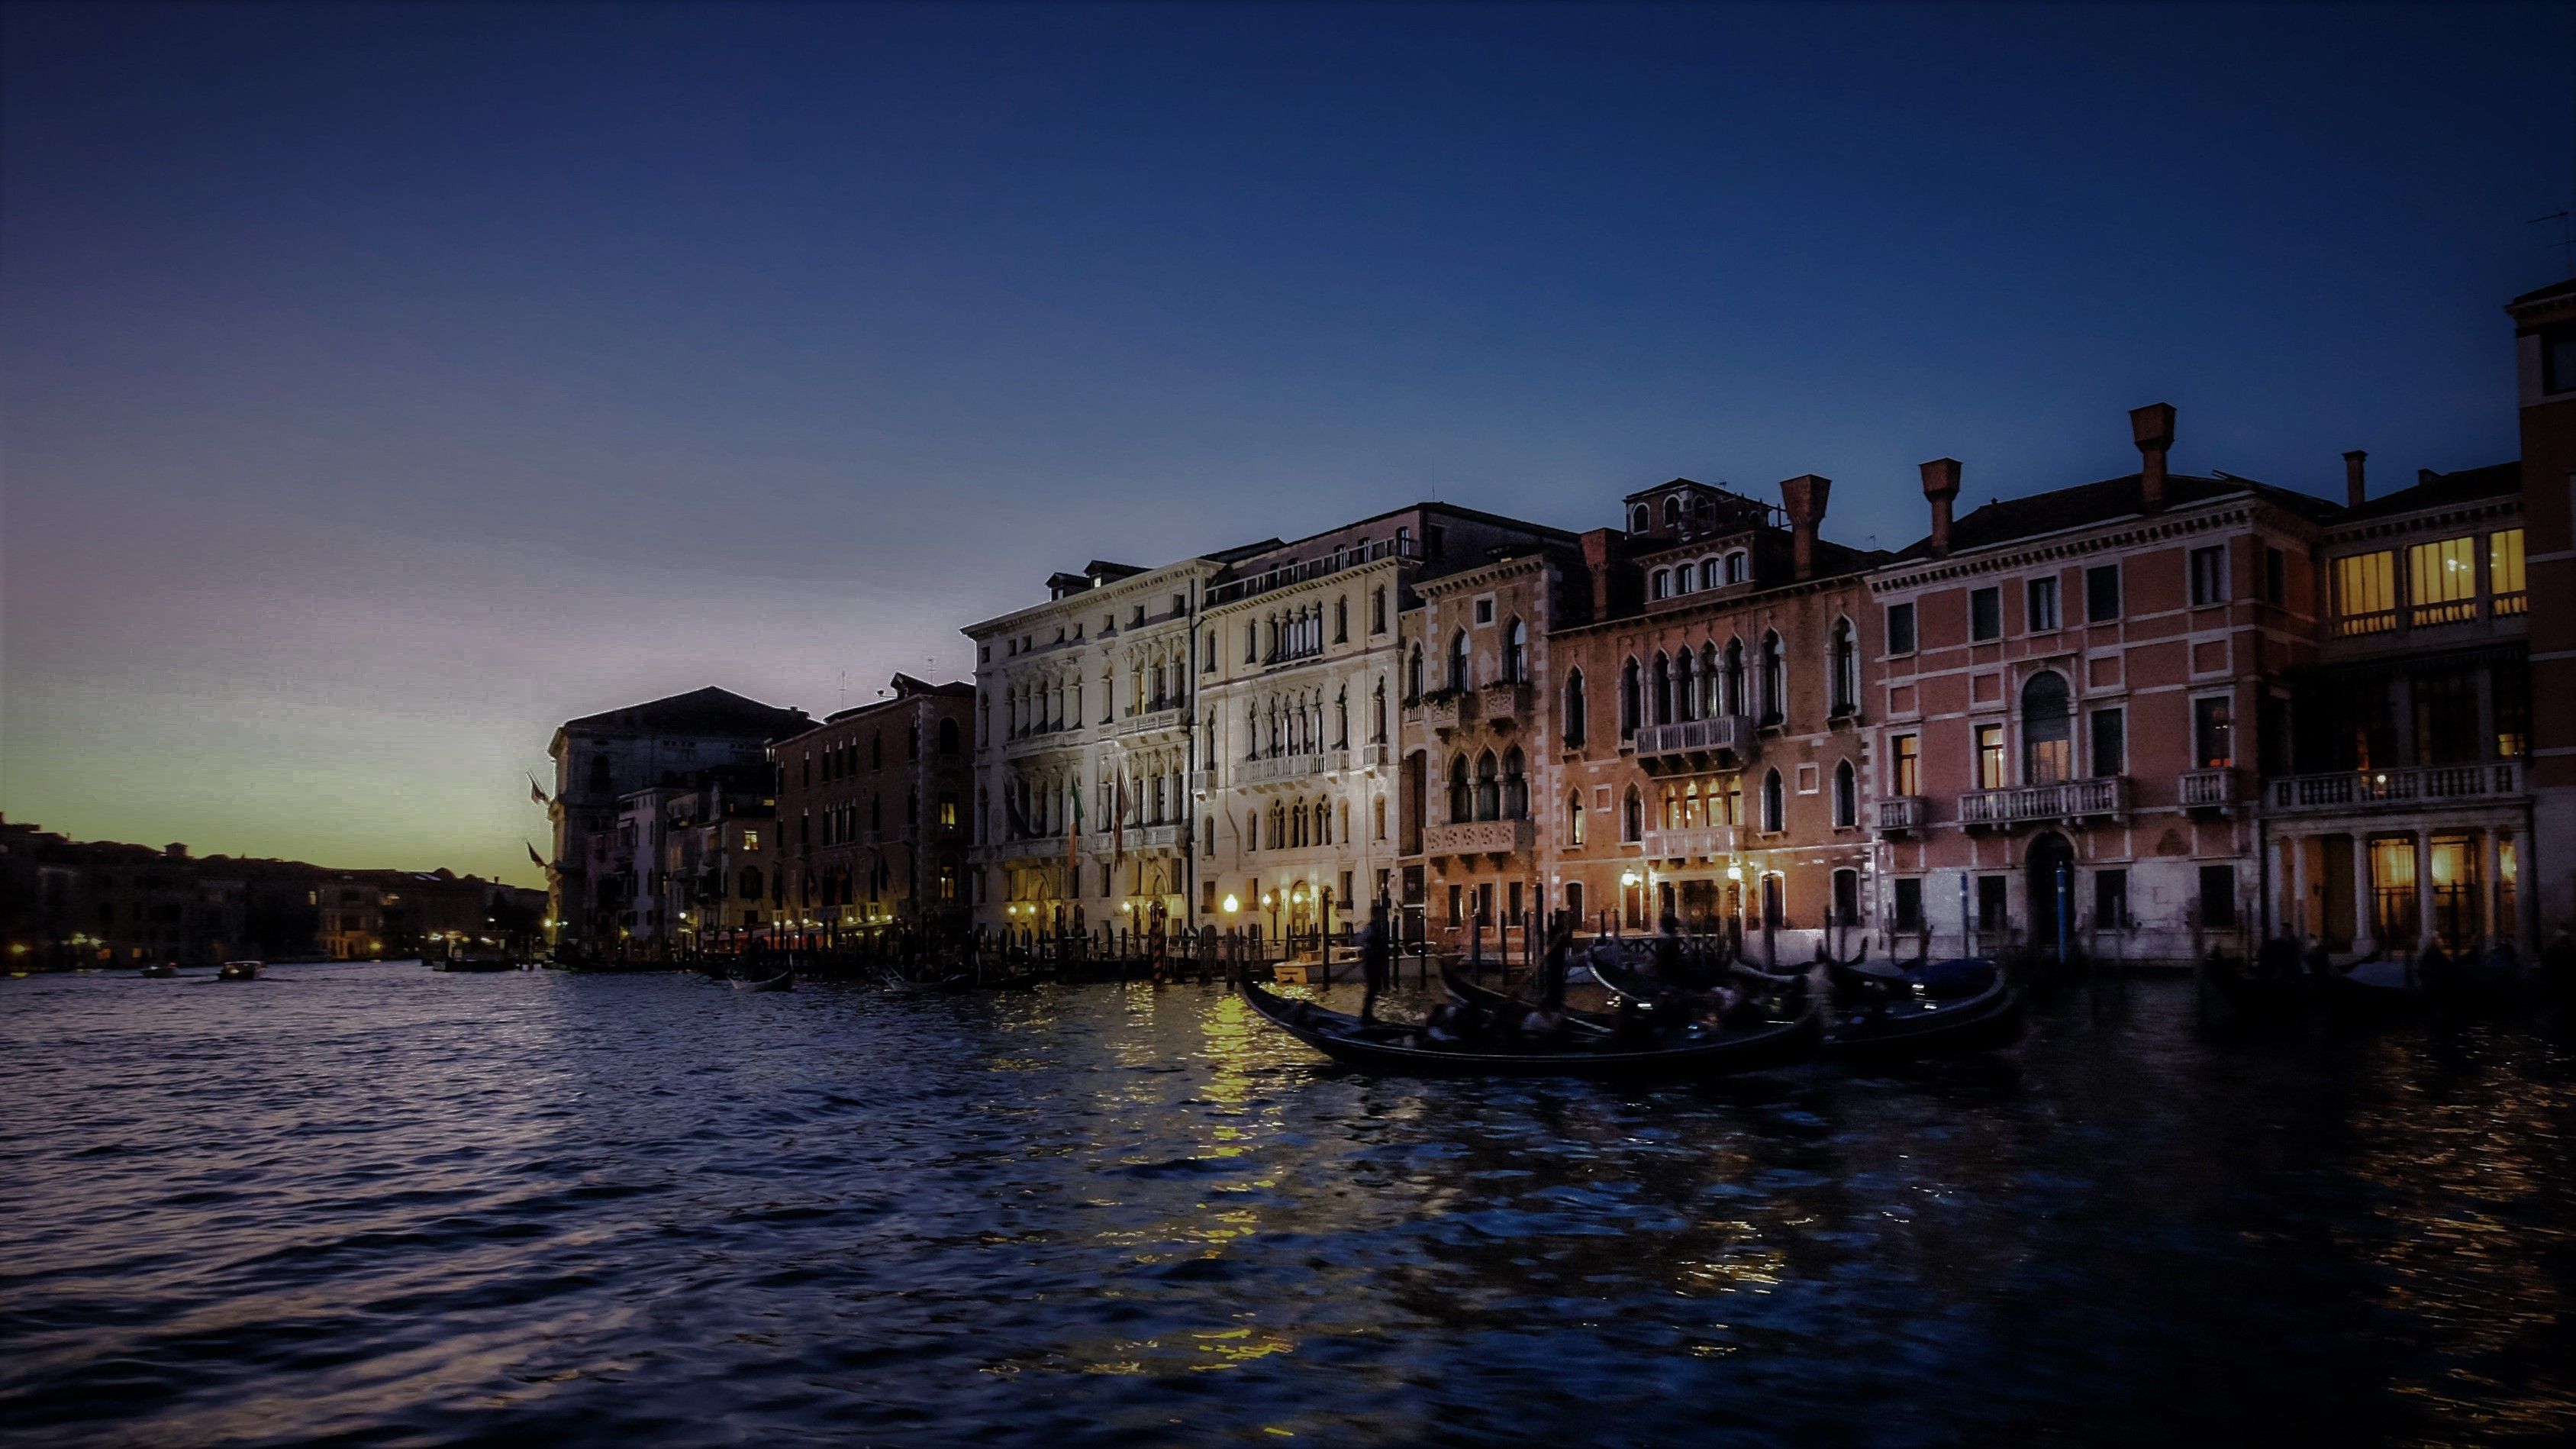
Most people don't wake early enough to catch the blue hour, and by the time the sun has set, we're already too caught up with home life. So an image of the natural blue hues will grab our attention because of how ethereal it can seem.
Not to mention, since not many people are outside during dawn, it's the perfect time to get shots with minimal crowding.
Evokes an Emotional Response
Many people would name blue as their favorite color because of the way it makes us feel. It tends to bring a sense of calm, serenity, and safety. Blue colors can also enkindle melancholy and forlornness. These emotions work well with landscape or cityscape shots.
Monotonal Color Scheme
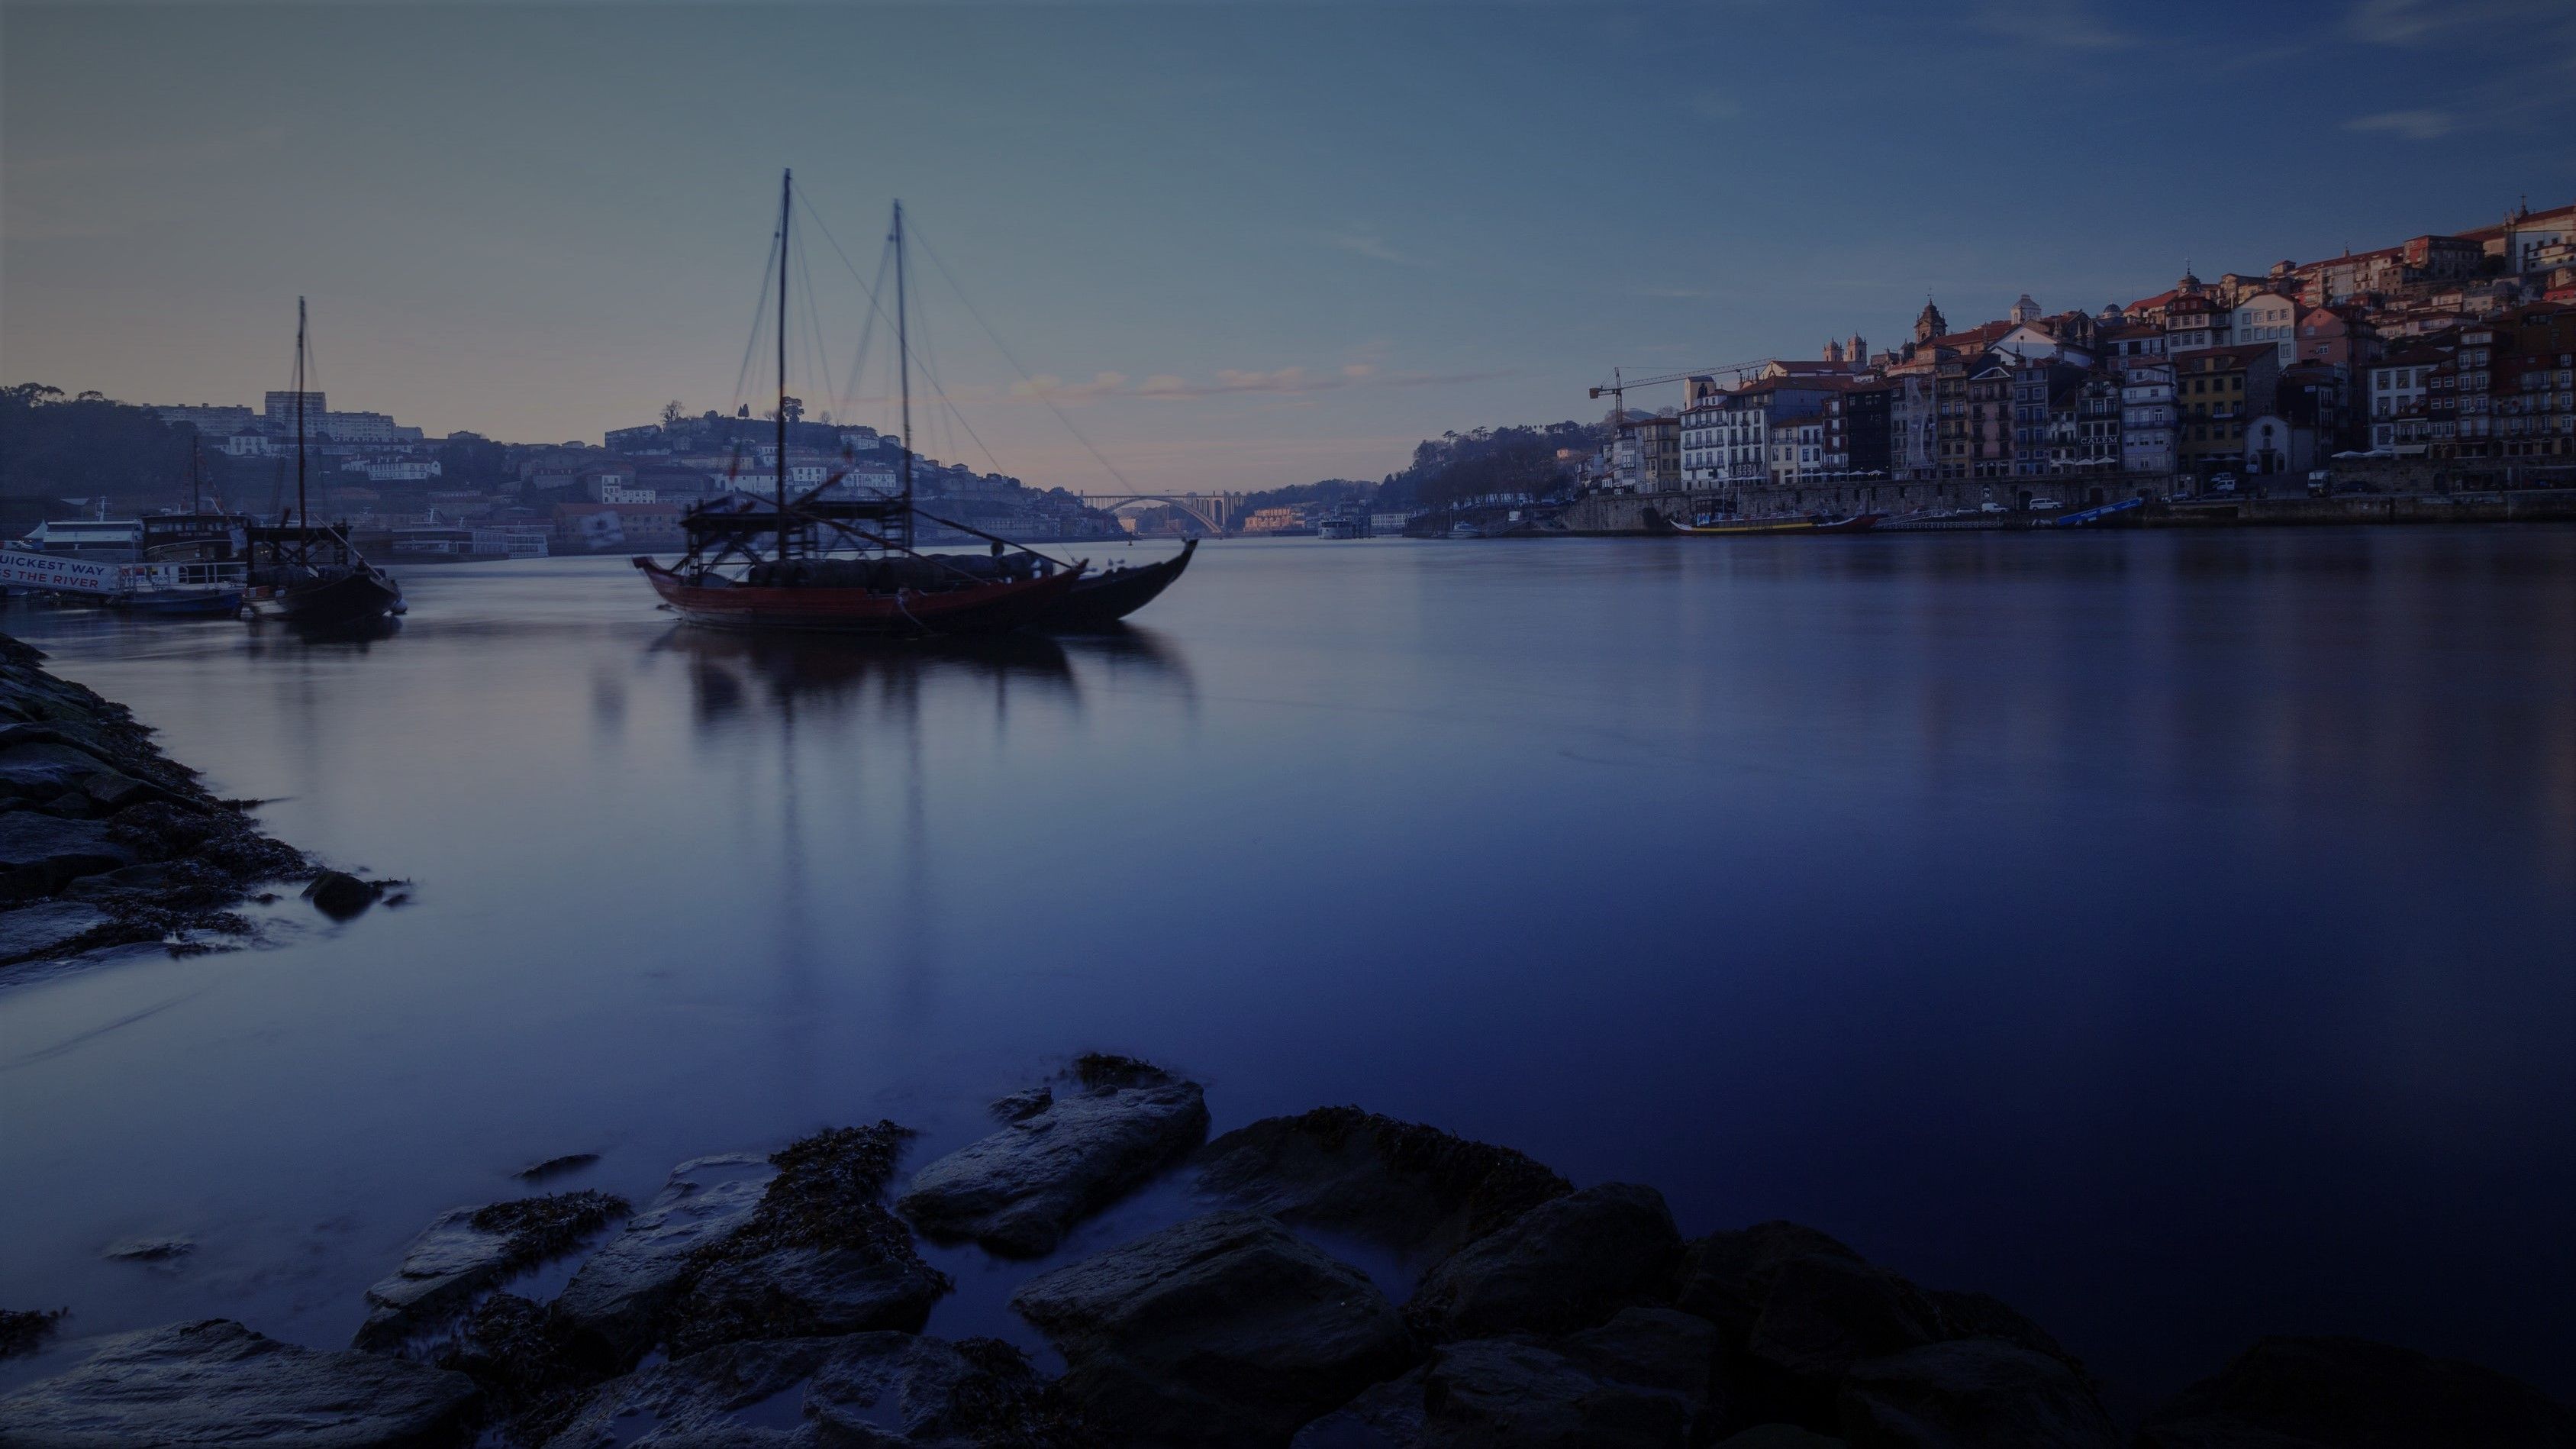
The blue hour color scheme is a lot more monotonal than that of golden hour or any other period in the day. Colors inspire emotion, so when a photo is monotonal, it enhances whichever feeling that color triggers.
Depending on the intensity of the blue-lit atmosphere, even subjects that are typically colorful will take on the blue hue, such as vegetation, rocks, or even people. This simplifies the image, making it easier to process.
Tips and Techniques For Blue Hour Photography
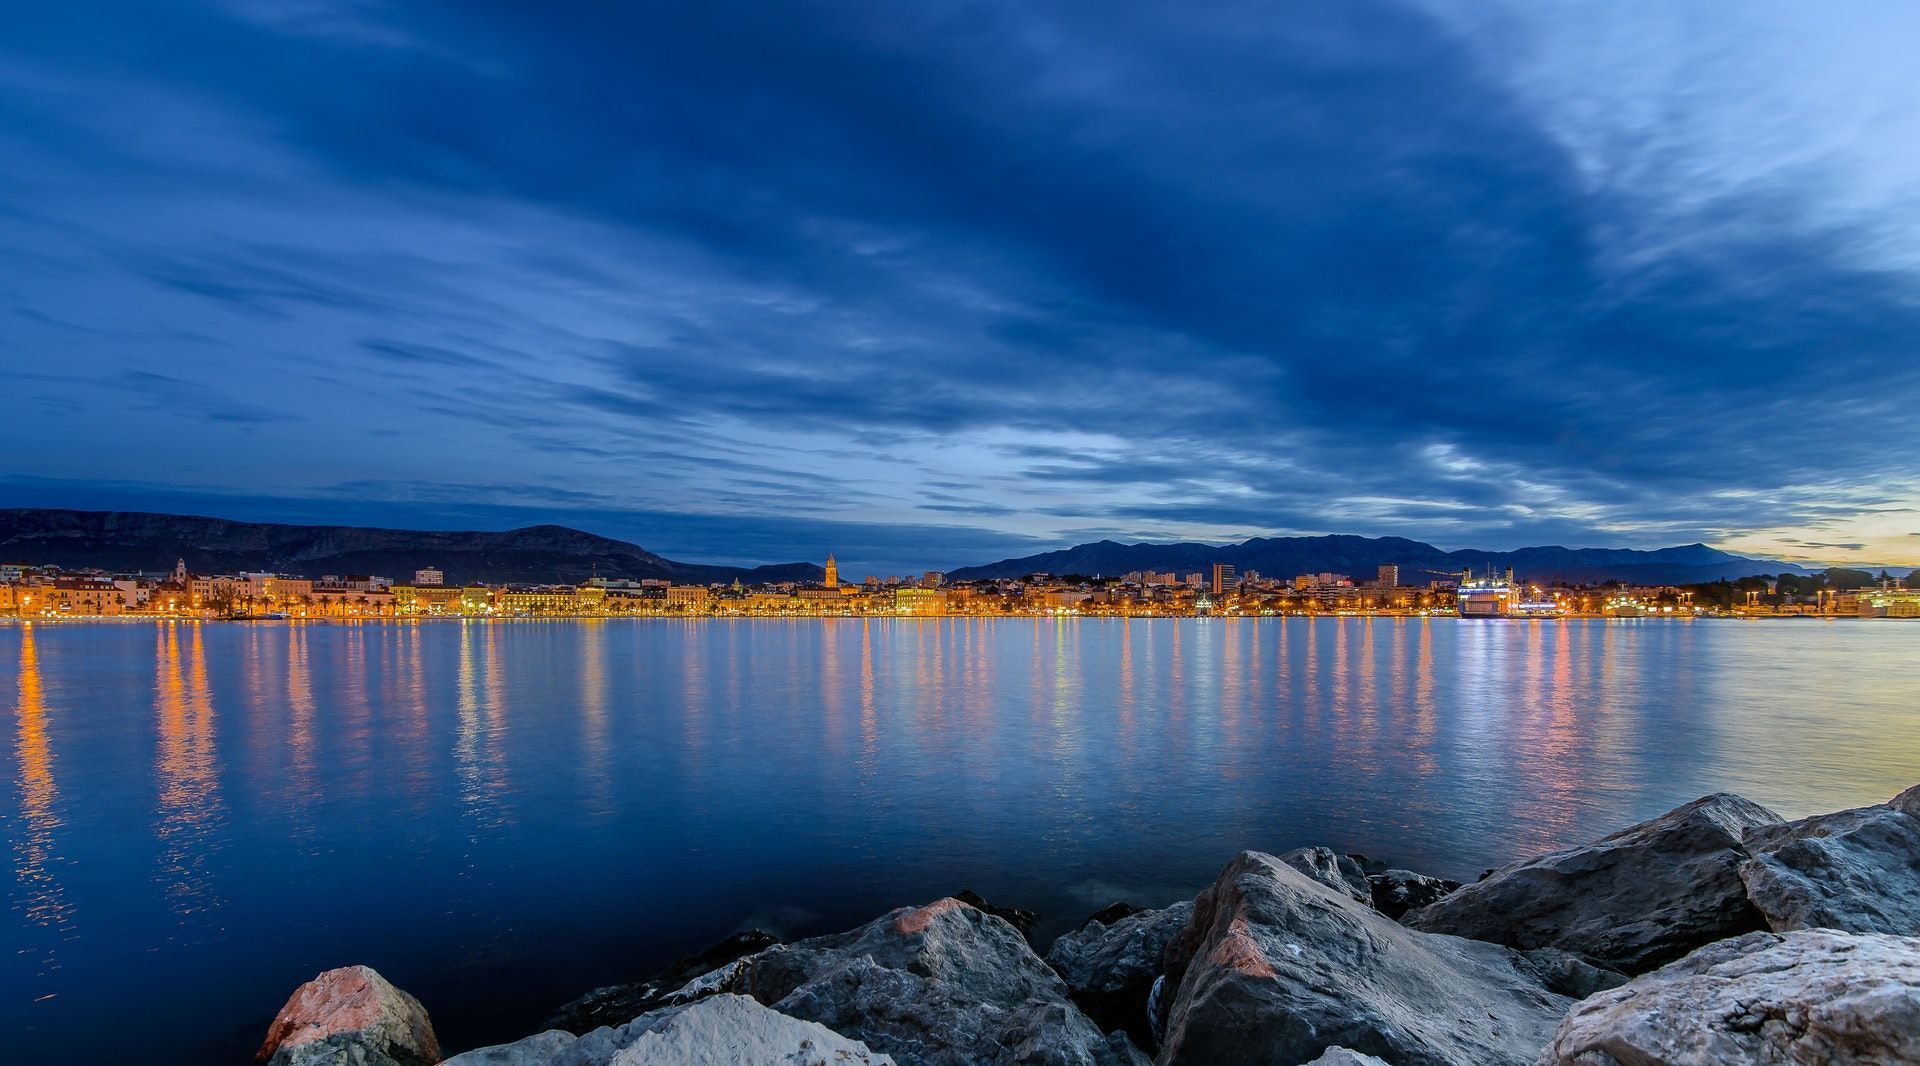
A successful shoot in such specified lighting conditions is going to require certain techniques. And with the unique color cast of blue hour, there are some impressive effects that you can employ.
Start Early
The changes in color from deep blues to light purples and reds happen faster than you'd think. So if there's a specific color pallet you're going for, it's best to set up before nautical twilight starts. That way, you'll get the full range of the twilight color spectrum.
If you arrive when it's still dark, it might take a while to scout the best place to find a good composition. Consider setting up while it's still light outside, and doing the shoot at dusk.
Keep ISO Low
Set the ISO to 100 at first. You can turn it up as it gets darker, but we recommend not going above 400. Even though a higher ISO setting will brighten an image, it will also result in more noise (or grain). This will disrupt the clarity and sharpness.
Choose the Right Aperture
There is no specific lens that works best for blue hour—it will depend on the composition of your image, so you simply need to play around with it.
A lower aperture of f/2.8 will allow more light to enter the camera, and this way, you can use a faster shutter speed. But if you're using a tripod, you don't need a bright lens—a higher aperture of up to f/16 will result in more depth of field and give you sharper images.
Use a Tripod
A tripod is highly recommended for blue hour photography. The only way to increase the captured light in a low-light setting is to increase ISO and widen the aperture, but that will result in noisy images and a lack of depth of field. So a better solution is to use a slower shutter speed.
However, a slower shutter speed poses its own problem: the slightest movement of your hand will cause blur. This is where a tripod comes to the rescue—it will stabilize your camera.
Shoot In RAW
If you plan on doing any editing in post-production, you should shoot in RAW. A RAW image is unprocessed and saves all of the data captured. This almost acts like a blank canvas, allowing a lot more room for adjustments in post-production compared to other formats.
Include an Artificial Light Source
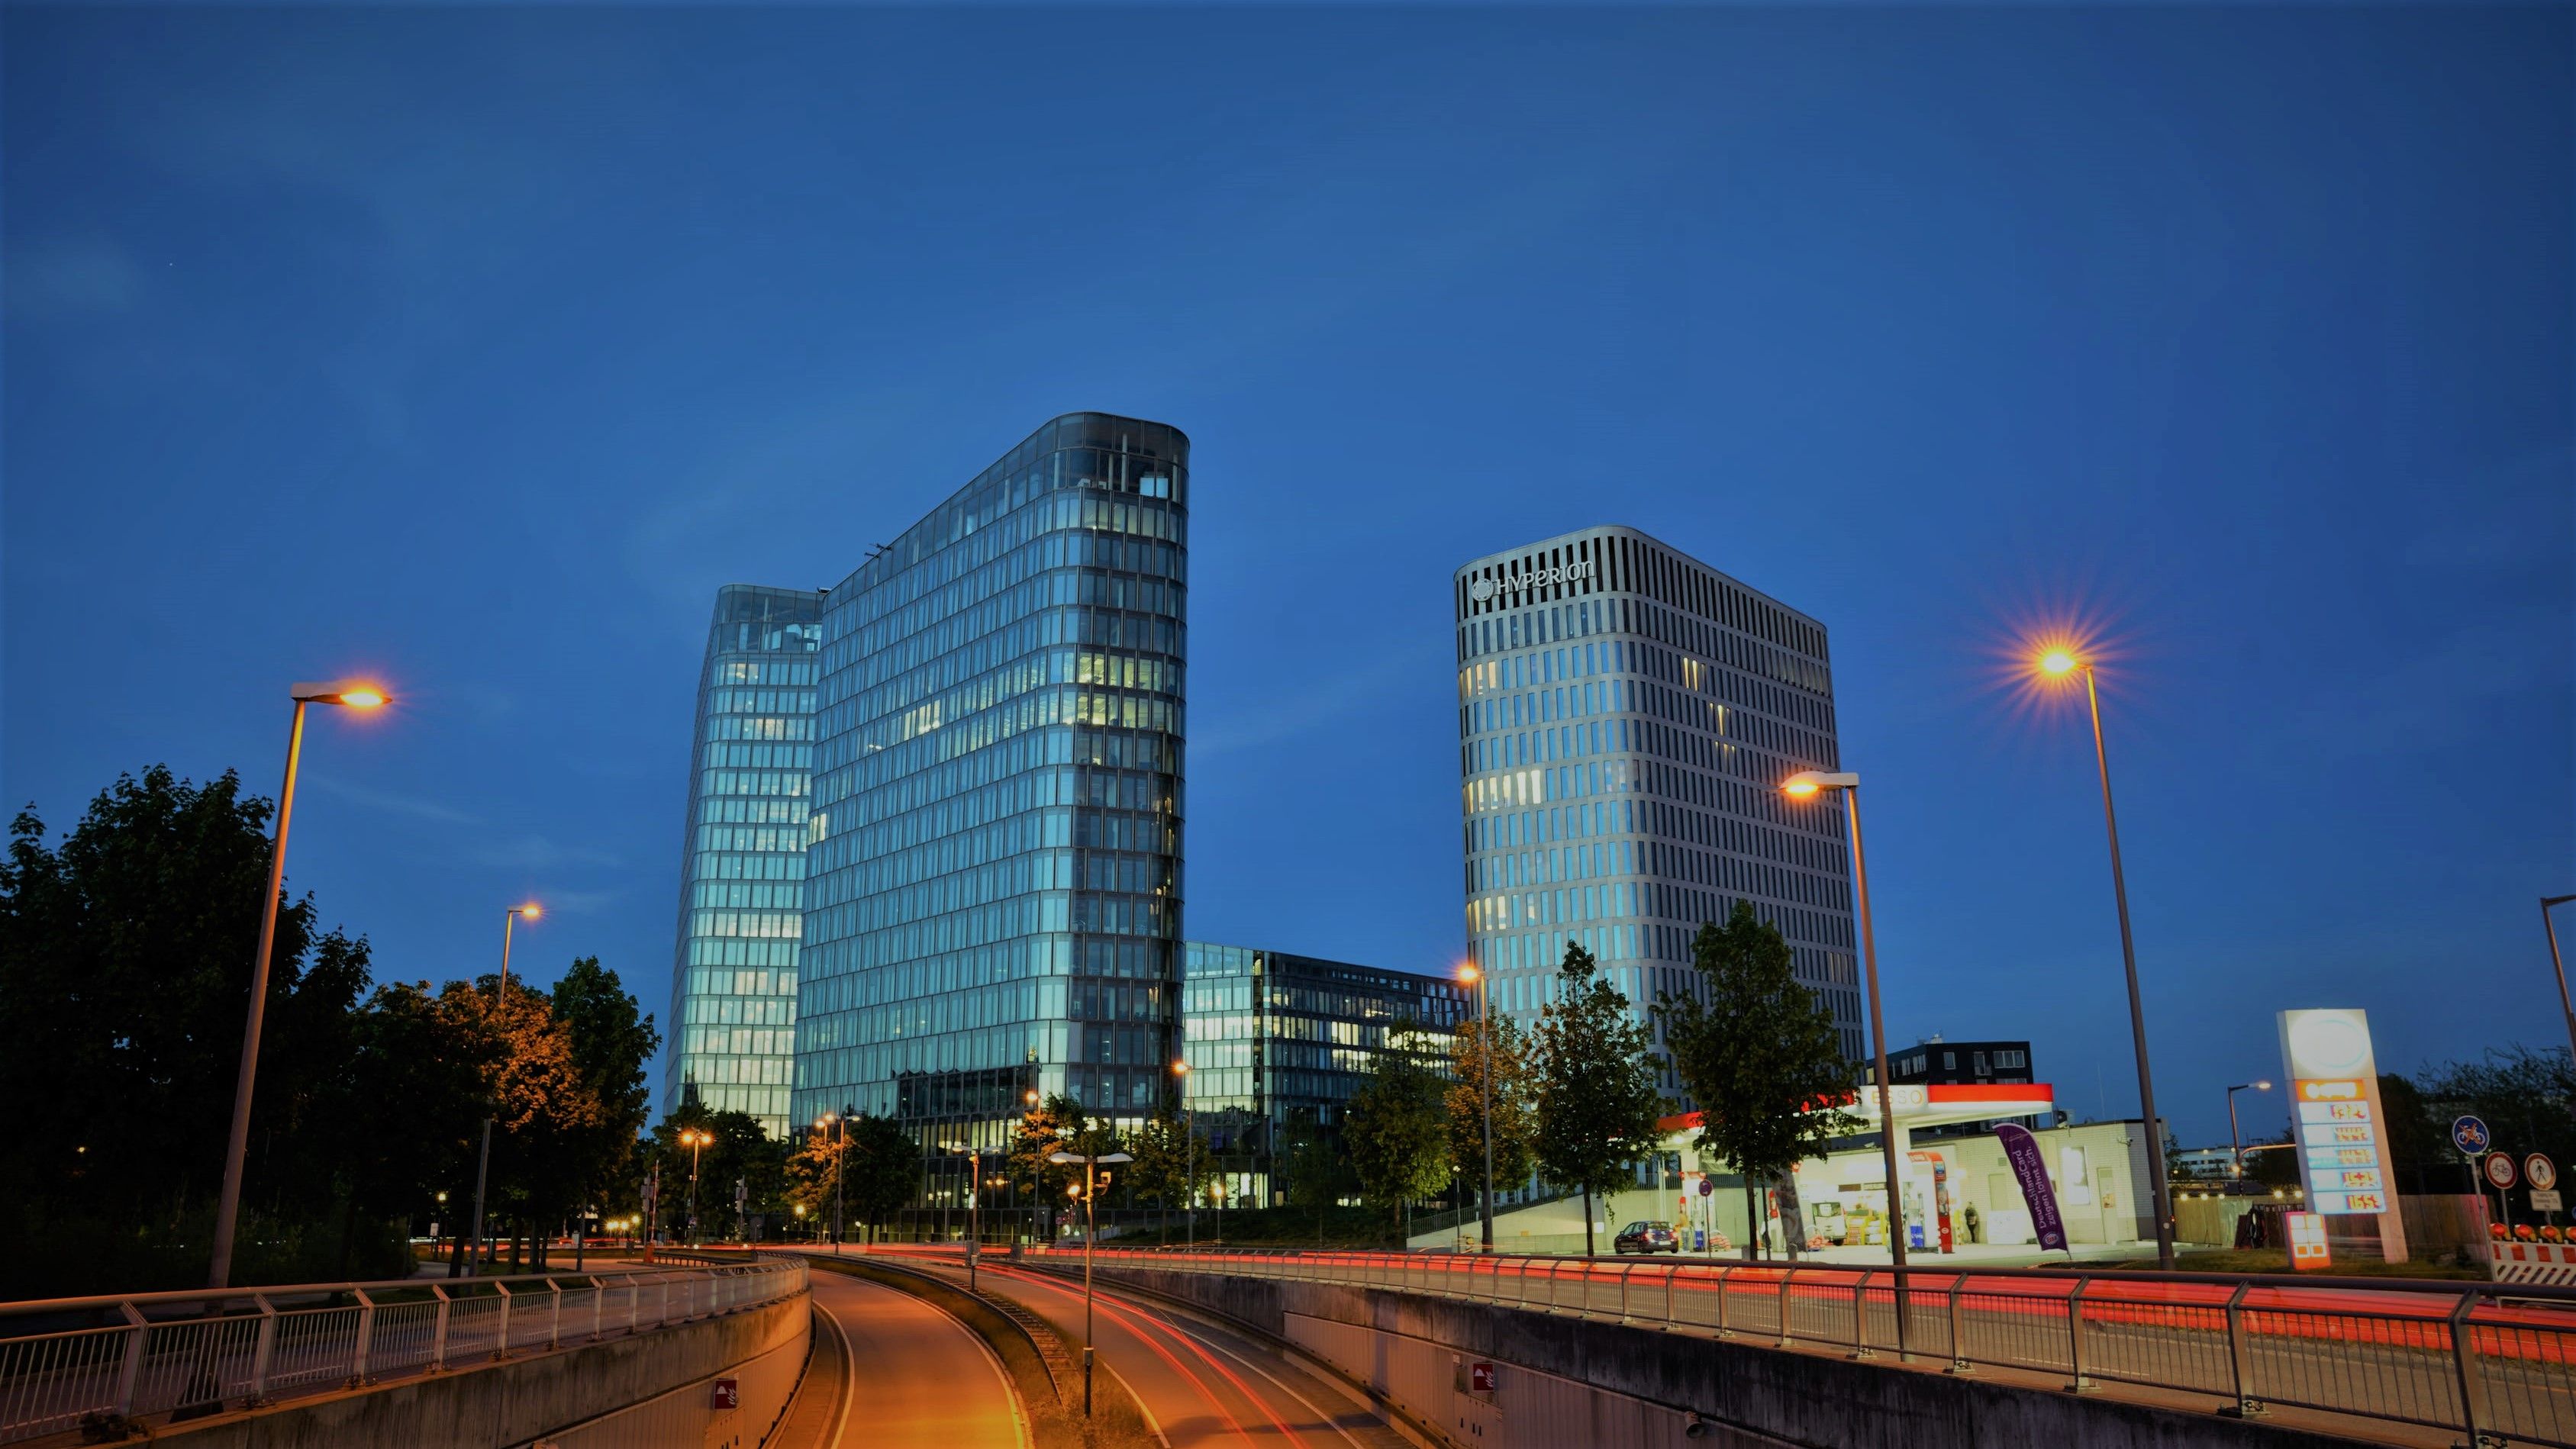
Just because it's blue hour, doesn't mean the entirety of the image needs to be dark-hued. You can capture artificial light sources to add a burst of color. This is why blue hour works so well for cityscape photography—street lamps, building lights, car headlights, and so on, illuminate the image.
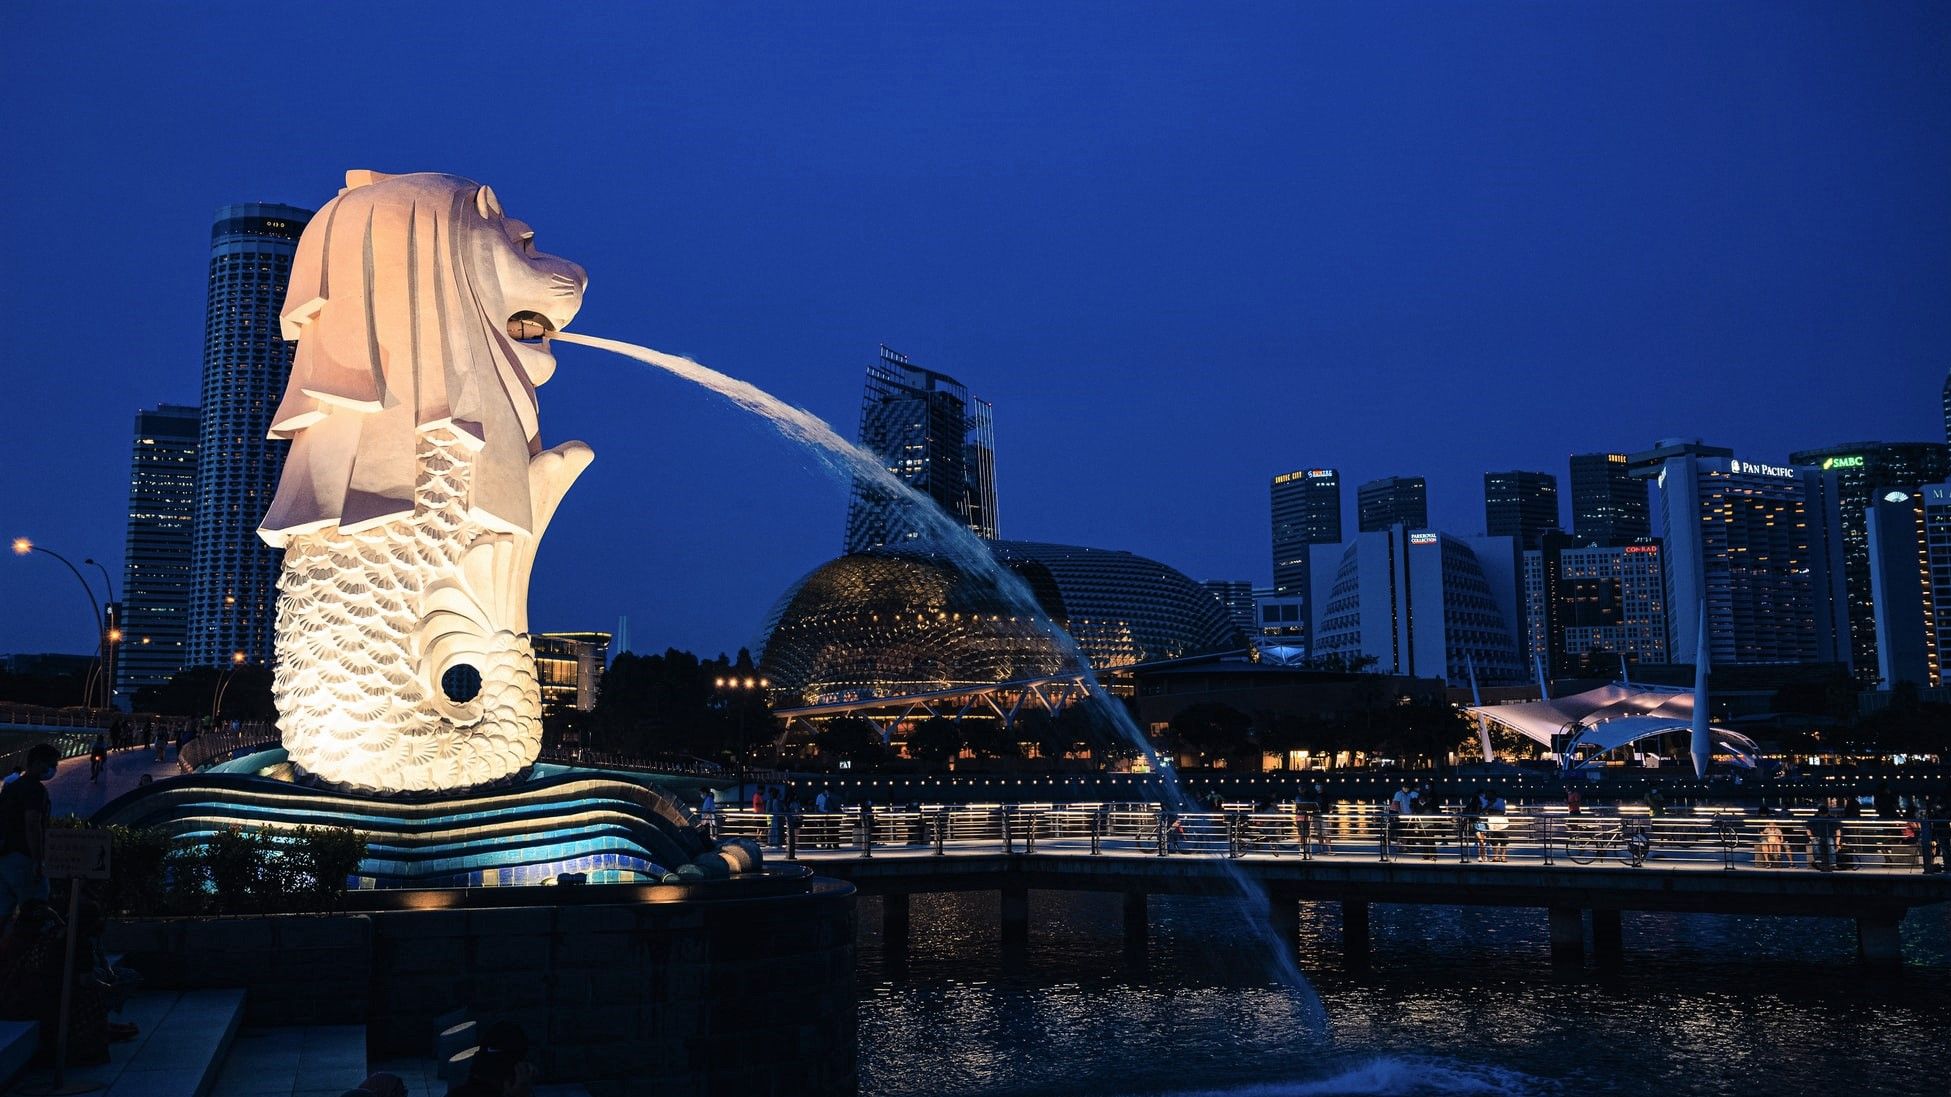
Get creative with your lights of choice. Focus on a singular light source such as a lighthouse, or something that's busier like a street shot of the city. You can also create your own light by shining a flashlight onto a subject.
Capture Movement
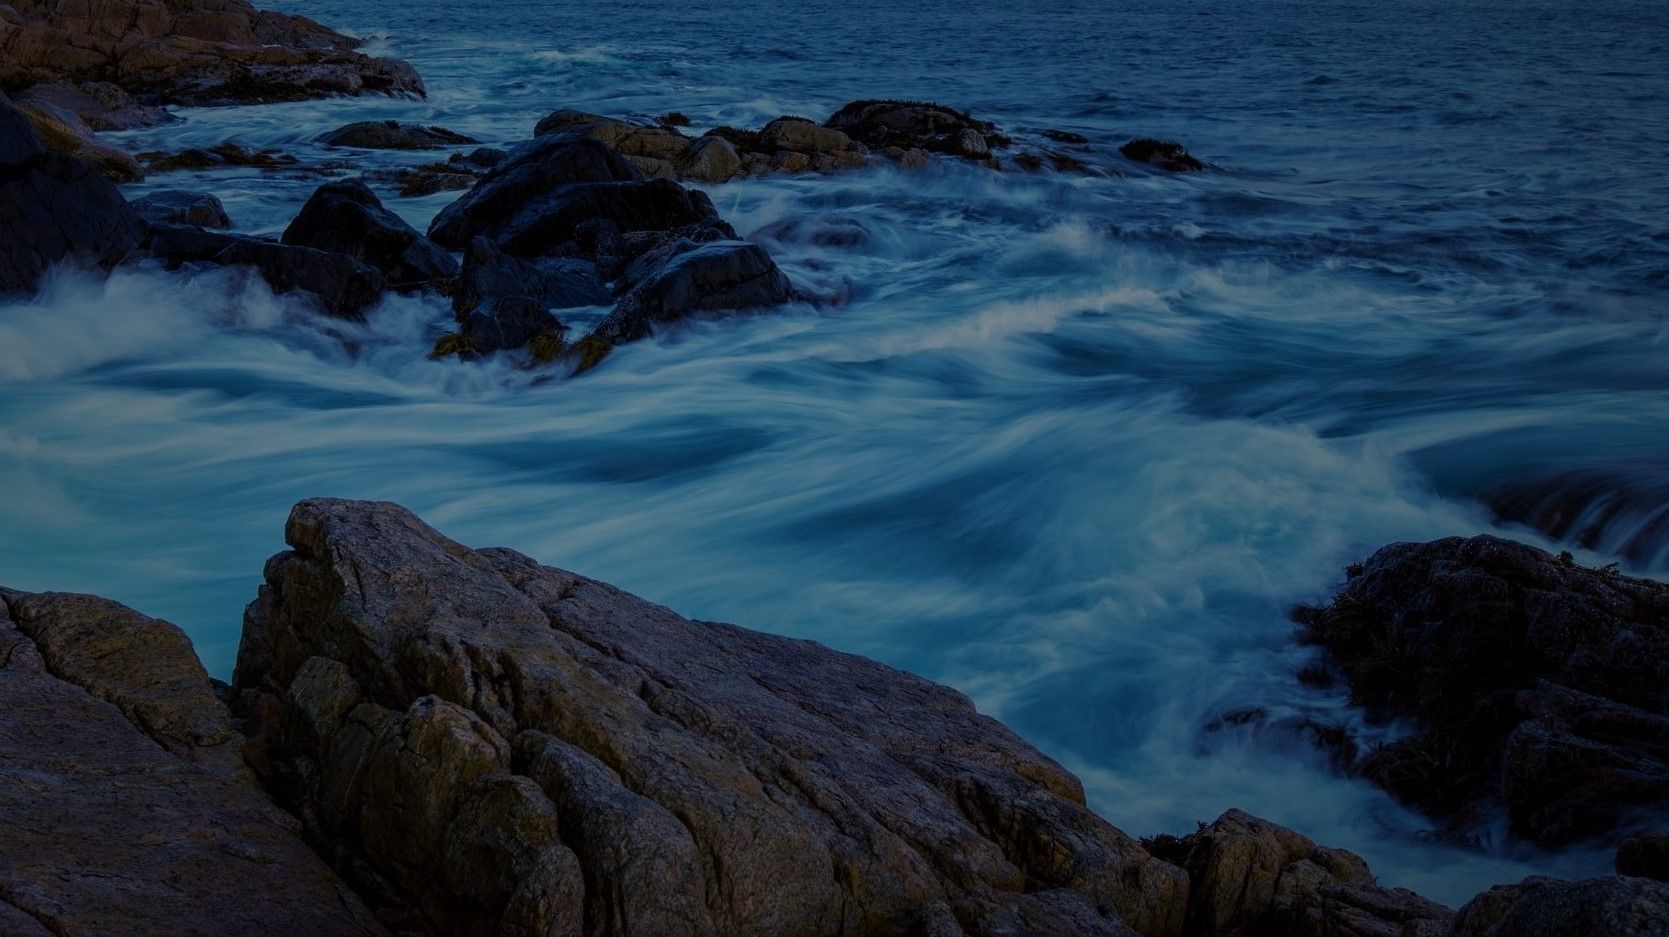
Capturing motion in blue hour adds a striking element to the calmness of the atmosphere. If you can master panning, then you'll be able to capture images with motion. It combines a slow shutter speed, long exposure, and sometimes the moving of the camera.
Use Reflections
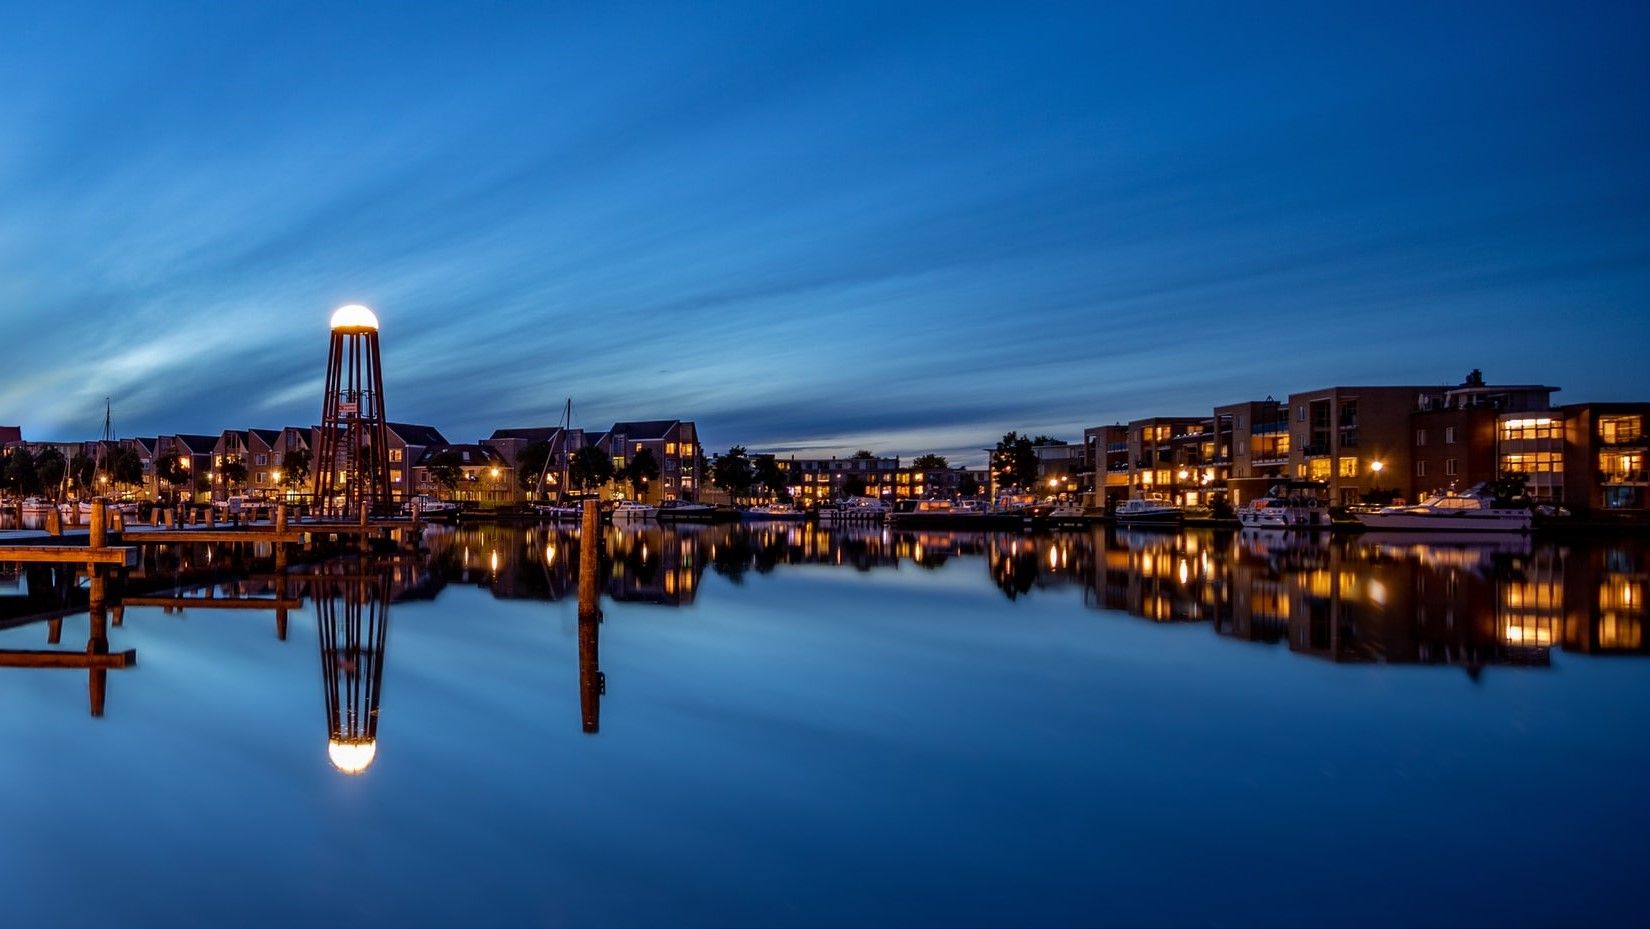
Find a source of light, it can be city lights or even the moon, and scout the area for a body of water. Position your camera behind the water to catch the reflection of the lights. Reflection photography adds an interesting and artistic spin to images.
Create Silhouettes
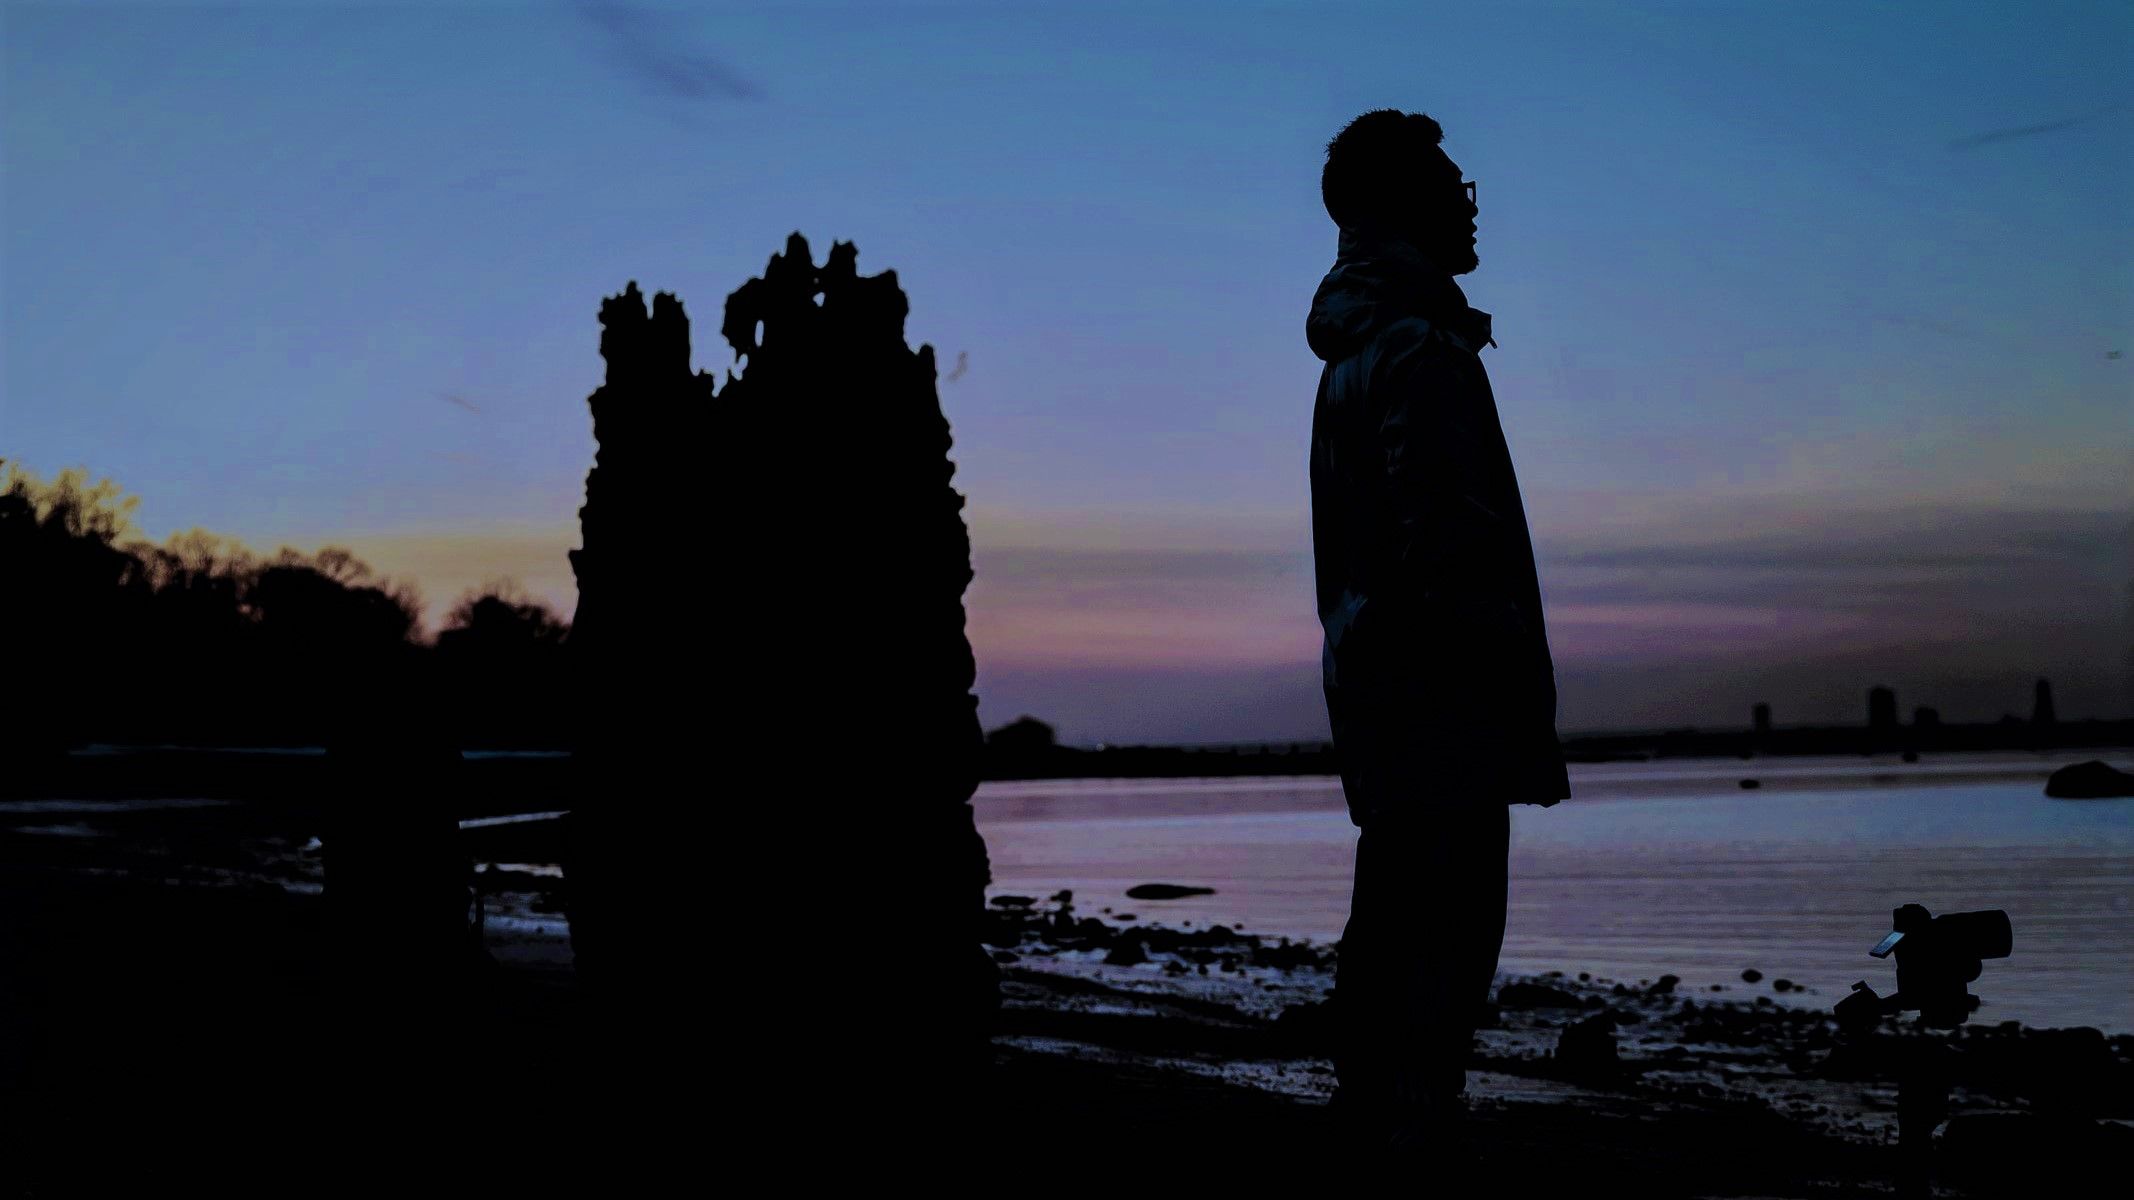
Blue hour allows you to create captivating silhouettes. The civil twilight period is the best time to capture a silhouette since the backlight will be brighter. And the combination of blue, purple, and reddish colors makes for a stunning backdrop.
Don't Forget About Blue Hour
It might take some time to find the right camera settings, but once you've got the hang of it, you can wow an audience with the colorful spectacle that is blue hour. A landscape or cityscape that's infused with such a blue color pallet will make them stop in their tracks. And don't forget to try the above techniques.
0 Comments