The picture on the introductory slide of your presentation makes an excellent first impression. However, it shouldn't take up so much space as to block the entire slide. So, the best way to crop an image is to only show the face.
Using PowerPoint, you can crop an image perfectly without using any third-party tools or apps. With this article, you'll learn how to this quickly using PowerPoint and how to make it more engaging by adding borders.
Adding an Image to PowerPoint
- Open PowerPoint.
- Go to Insert > Pictures.
- Select the image you want to crop.
- Open it in PowerPoint.

When you insert an image, it will be in its original size and shape. Therefore, there is no need to preprocess the original image before adding it to PowerPoint.
Cropping the Image Manually
When you try to crop the image manually, you can only crop it horizontally and vertically. The edges, however, will be straight. As a result, you may not get a circular crop.

Cropping the Image in Circular Shape
In PowerPoint, selecting the image will automatically bring you to the format ribbon. PowerPoint automatically sets this preference. If it does not, ensure you're in the format ribbon and open the picture tools settings.

If you click crop directly, it will take you to the manual crop mode, where you can only crop by straight edges. So you should instead click on the arrow button to bring up the dropdown.

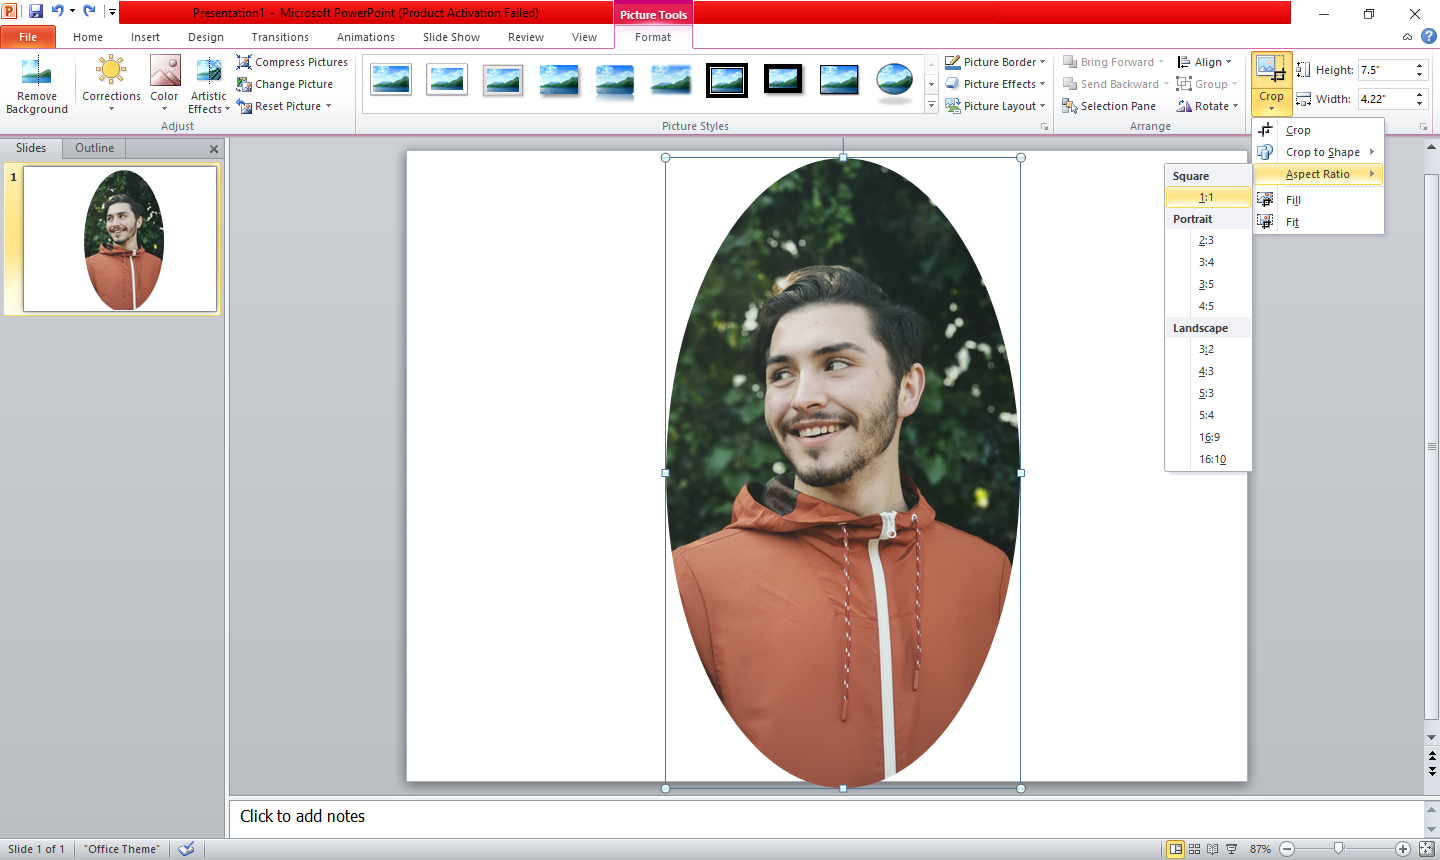
Here's how to create a perfect circle out of this oval shape:
- Click on the Crop icon from the format menu.
- Select crop by shape. (You can crop an image using hundreds of shapes here).
- Again, click on the crop option dropdown.
- Click on the aspect ratio to see it.
- Choose 1:1 from the available options.

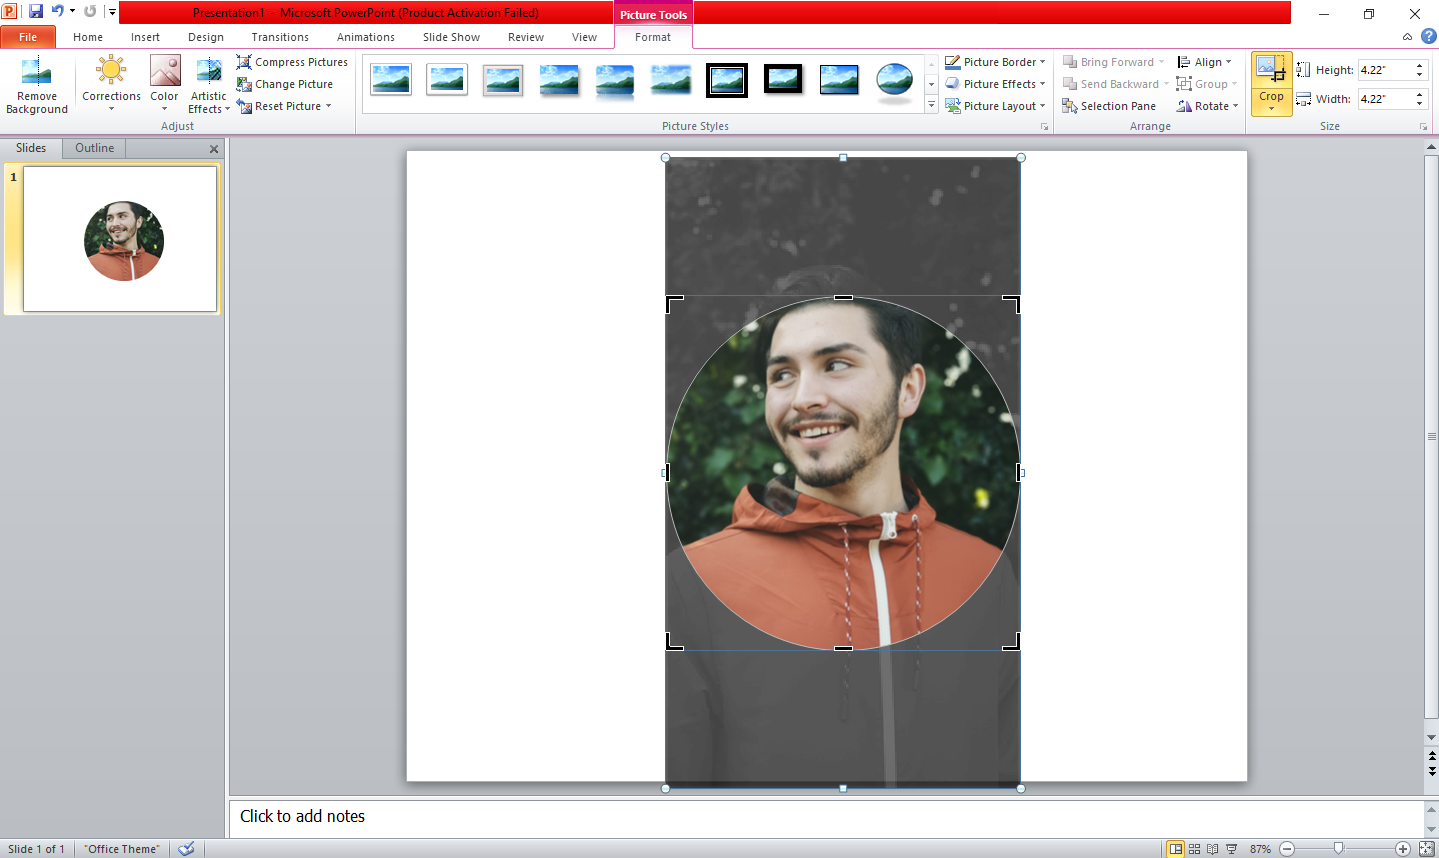
The oval shape will be reduced to a perfect circle as shown below.

Simply drag the image to perfectly fit the cropped circle so the face is inside the circle.

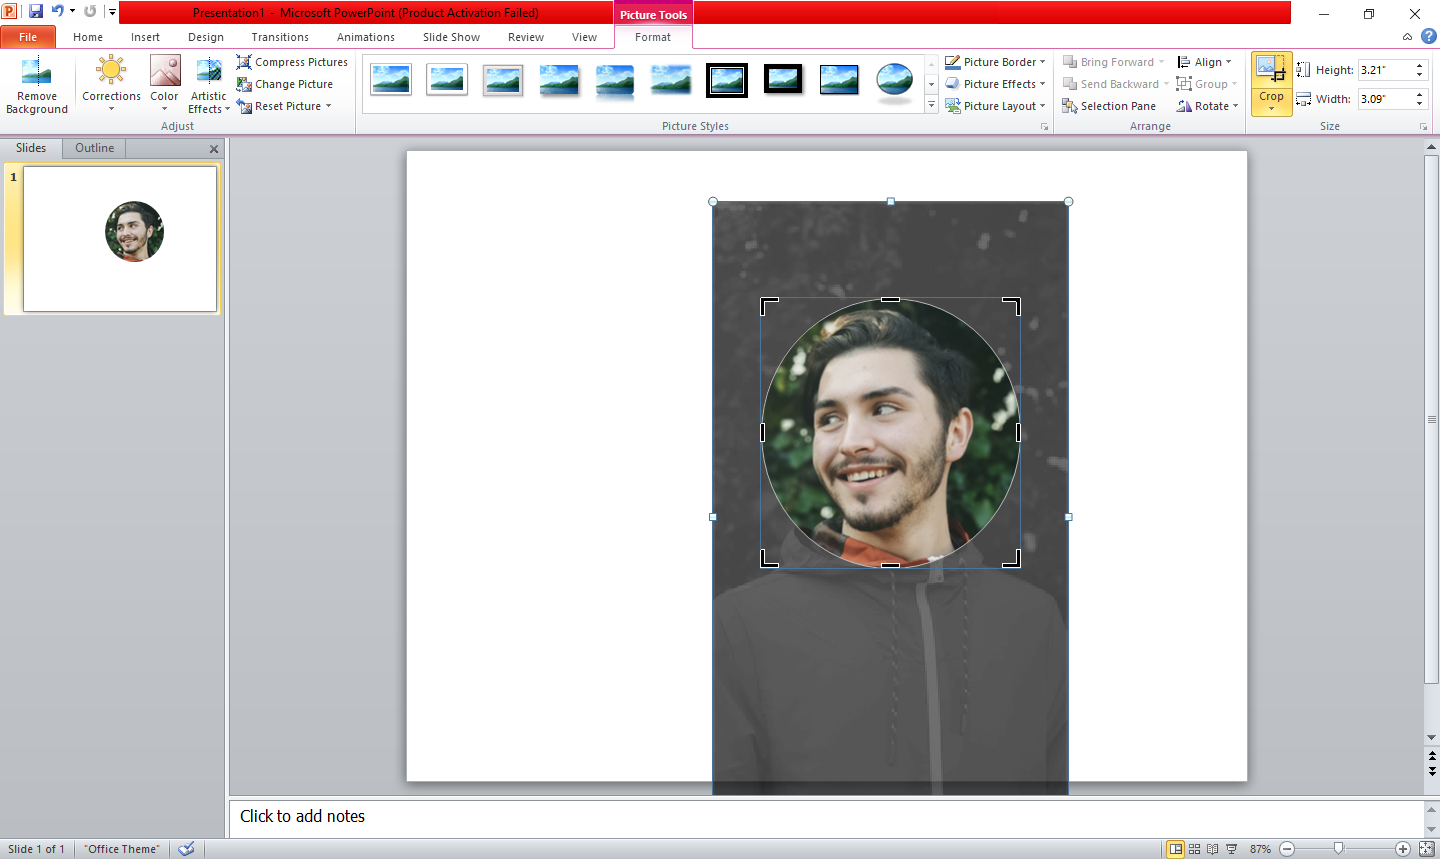
In addition to moving images, you can also stretch or expand the cropped circle from its corners. By doing this, you can further reduce the cropped area.
However, resizing will disrupt the circular shape of the cropped image. You can make it a perfect circle by again setting the aspect ratio to 1:1.

Thus, go to crop dropdown and set the aspect ratio to be 1:1.
After making the desired change, click anywhere else on the slide to execute the changes.

How to Add Borders to a Cropped Image
You can also add borders around the image to make it more attractive. Let's see how you can accomplish this.
- Click on the image.
- Select the format tab.
- Click on picture styles.
You will find a few picture effects that you can use to design your image here. To see the complete list of effects you can add to an image, click the dropdown arrow.

When you hover over these shapes, you'll see how the design of your selected image will change.

Choose compose frame (Black) from the list of available picture styles.

Above, you can see that the added border isn't circular as you would like. By following the same steps explained earlier, you can make this square-shaped border into a perfect circle.
- Select the image.
- Select the crop option from the dropdown.
- Choose an oval shape from the crop shapes menu.
- The aspect ratio should be set to 1:1.

How to Change Color of a Picture Border in PowerPoint
It is possible to change the border color in PowerPoint without changing the original image's color palette. Here's how you can do it.
- Choose the image with a border.
- Go to the Format tab.
- Select your desired color from the picture border dropdown.

Crop Your Images Into a Circular Shape
Using the crop feature in PowerPoint, you can take a perfect circular crop from your image to use on the introduction slide. To make an image more attractive, you can also add a border and change its color.
Try this feature out while making your next presentation and see how it affects the look of your presentation slide.
0 Comments