When most of us shoot on a DSLR, we do so by the books. Some rules, however, are meant to be broken.
One unusual approach to creative photography is freelensing. Freelensing lets you see the world through new eyes, but at what many would consider a great cost: the protection of the delicate camera sensor that's usually safely tucked away behind the lens.
If that sounds insane and unnecessary, we implore that you stay with us. It's an incredibly versatile technique that can be done on the fly, on the cheap, and absolutely anywhere. Here are a few of our top tips for successful freelensing, no matter what you're taking photos of.
What Is Freelensing?
Freelensing, sometimes called lens whacking, is the art of shooting photos with a lens that has been removed from the camera's mount. You become the mount, holding the lens in front of the camera's sensor, and following your subject to the best of your ability.
If the notion of an unprotected sensor is enough to make you sweat, you are not alone. Here are a few of our best practices for freelensing.
1. Choose a Prime Lens
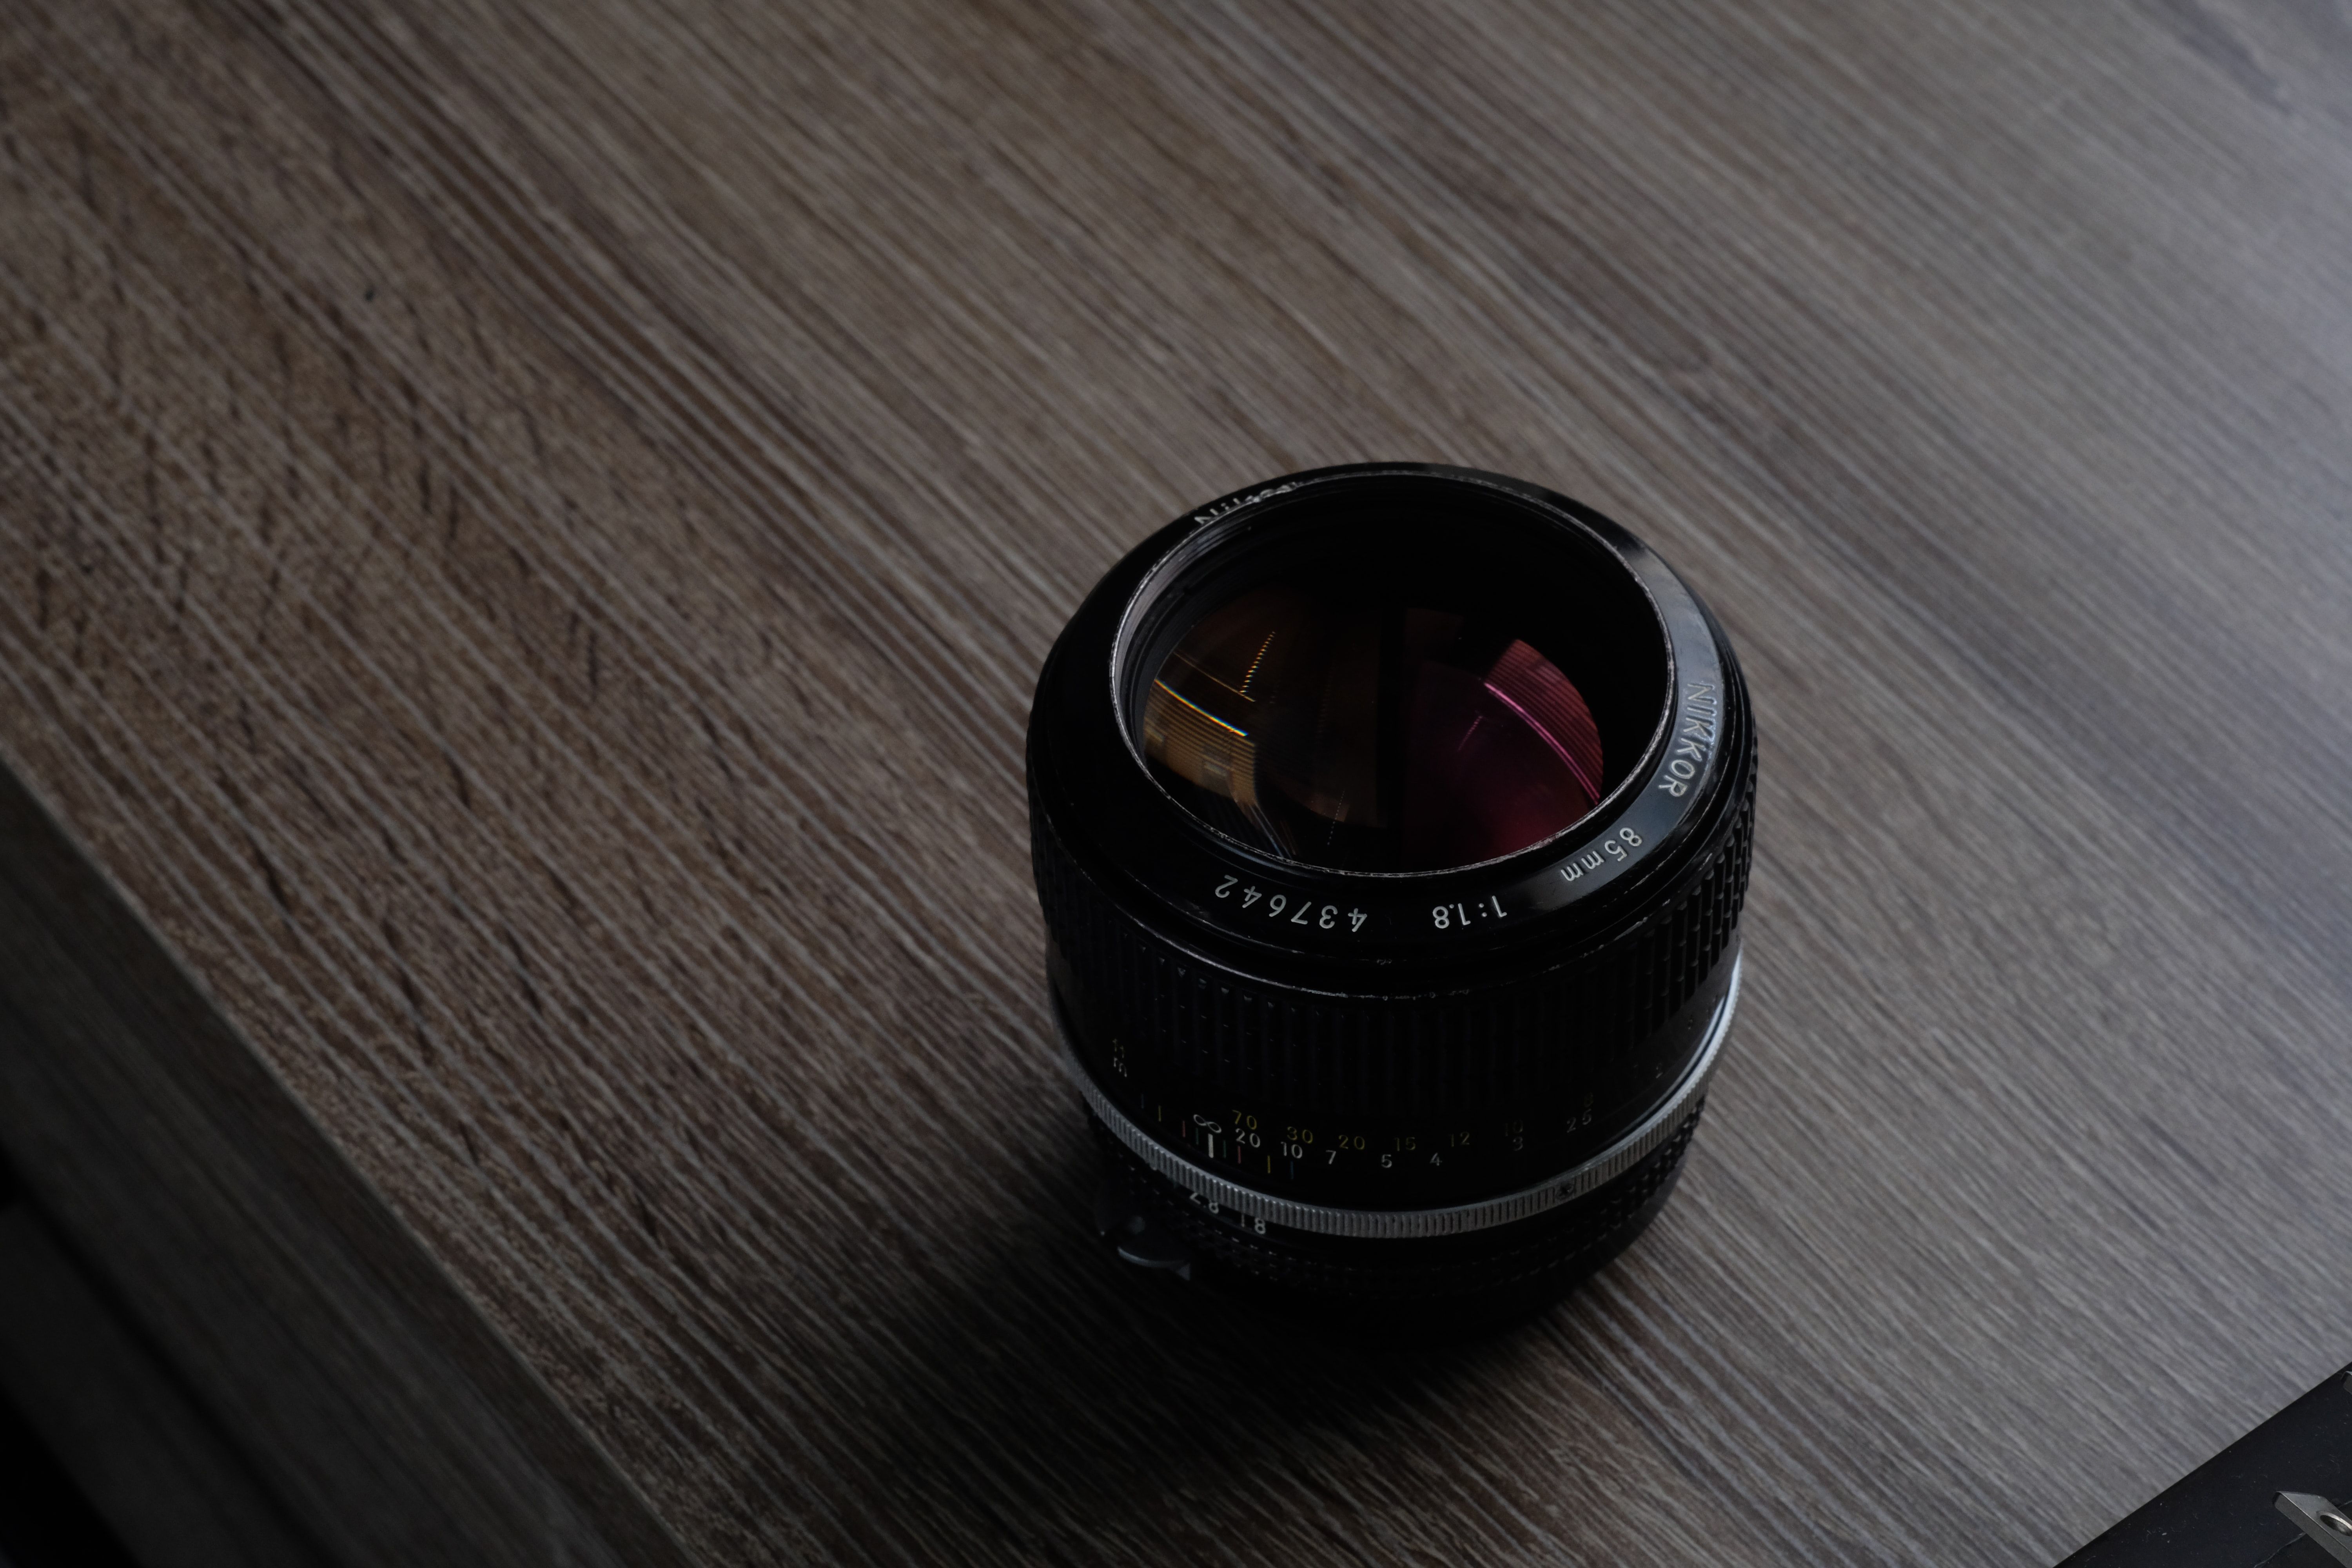
Not only are prime lenses usually of a higher quality, but they also tend to be more compact. But why is that useful when lens whacking?
The closer that you're able to get the back of the lens to the sensor of your camera, the more control you'll have over focus and composition. When lens whacking, you generally will not have a free hand to perform barrel pulls.
Instead, you have to adjust the focal plane by position and rotation alone. It's only confusing for the first few times—once you get the hang of it, you won't have to think much about it.
Moving the lens closer to and further away from the sensor on-axis pushes the focal area away or pulls it closer to you, respectively. Larger lenses that don't quite make it through the diameter of the mount are great for macro shots, but anything further away than that may be a challenge.
In a similar vein, an unmounted lens that is not perfectly parallel with the camera's sensor will give you a lens-tilting type of effect. Instead of a parallel focal plane, you can focus on one thing that's close to you, while throwing what surrounds it out of focus entirely. Of course, you will want to be careful about the lens and the sensor actually colliding as you work.
2. Close Down the Aperture
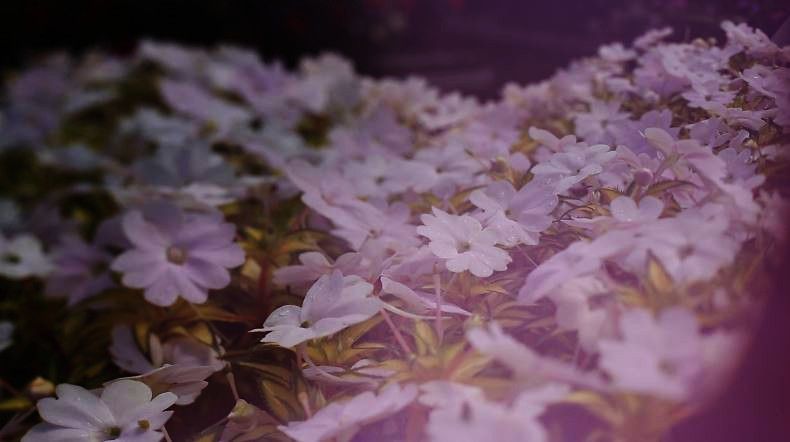
The smaller your aperture, the more likely your photos are to end up acceptably sharp. If you tend to shoot wide-open, try not to balk until you see the results for yourself. This is the last place that you're going to find a sterile and boring image on the other side.
Even if the lens that you're using is of very high quality, you should give yourself as much of a safety net as you can. This is especially the case when you first begin to practice shooting in this way. Many photographers will also recommend manually setting your focus to infinity before you begin.
3. Find Specular Sources of Light
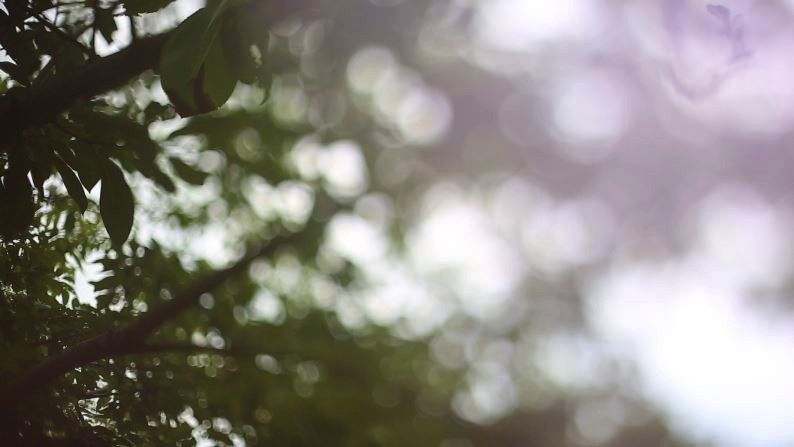
Any point of light that is bright and small enough will look dazzling through an unmounted lens. Much like when shooting a subject in front of dense foliage or LED Christmas lights, you'll be able to achieve a romantic bokeh effect with little effort.
Freelensing makes this much easier than usual. This is because so much more of the image tends to be out of focus, especially when shooting things closely.
Much like shooting with a wider aperture, this tendency puts more distance between the plane of photography and everything behind it. It gives the incoming light time and space to become more diffuse and beautiful, resulting in lots of bokeh.
4. Experiment With Different Conditions
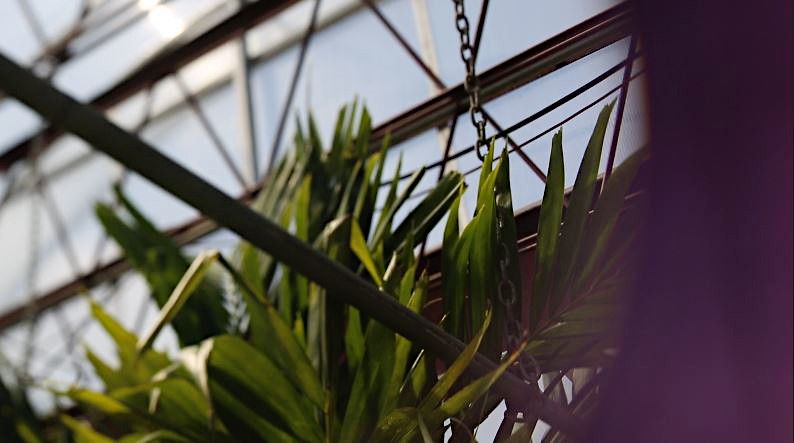
While bokeh is awesome, try not to limit yourself. There are so many other types of light that lens whacking captures gorgeously.
On the other side of the coin would be broad sources of light, like the sky or a large, bright screen. Broad sources don't just provide an attractive source of light illuminating the subject—they're especially exciting to shoot through an unmounted lens. Why, you may ask?
One of the most fascinating aspects of lens whacking is the insight into the physical properties and behavior of the lens (and camera). Light does not simply enter the lens and then exit undisturbed. The unseen series of events that make photography possible goes largely unnoticed because the construction of the lens, mount, and camera keep everything rigidly aligned.
After breaking the lens free, you will notice the reflection of broad sources of light playing on-screen like never before. The inner surface of the lens element throws stray reflections onto the sensor. The mount, ordinarily, makes these types of interactions impossible.
Tilting the pitch of the lens upward by 45 degrees creates an effect that is not exactly anamorphic, but that achieves something of a similar spirit. You're able to fill the frame with these elegant and often colorful flares, transforming everyday scenes into something more cinematic and visually intriguing.
Part of the fun that comes with freelensing is exercising your creative intuition and stumbling across the extraordinary. Every type of light should be exploited—sunshine at high noon, an overcast morning, and maybe even an excursion at dusk, just as all of the streetlamps start to pop on for the evening.
5. Invest in a Lensbaby Product or Something Similar
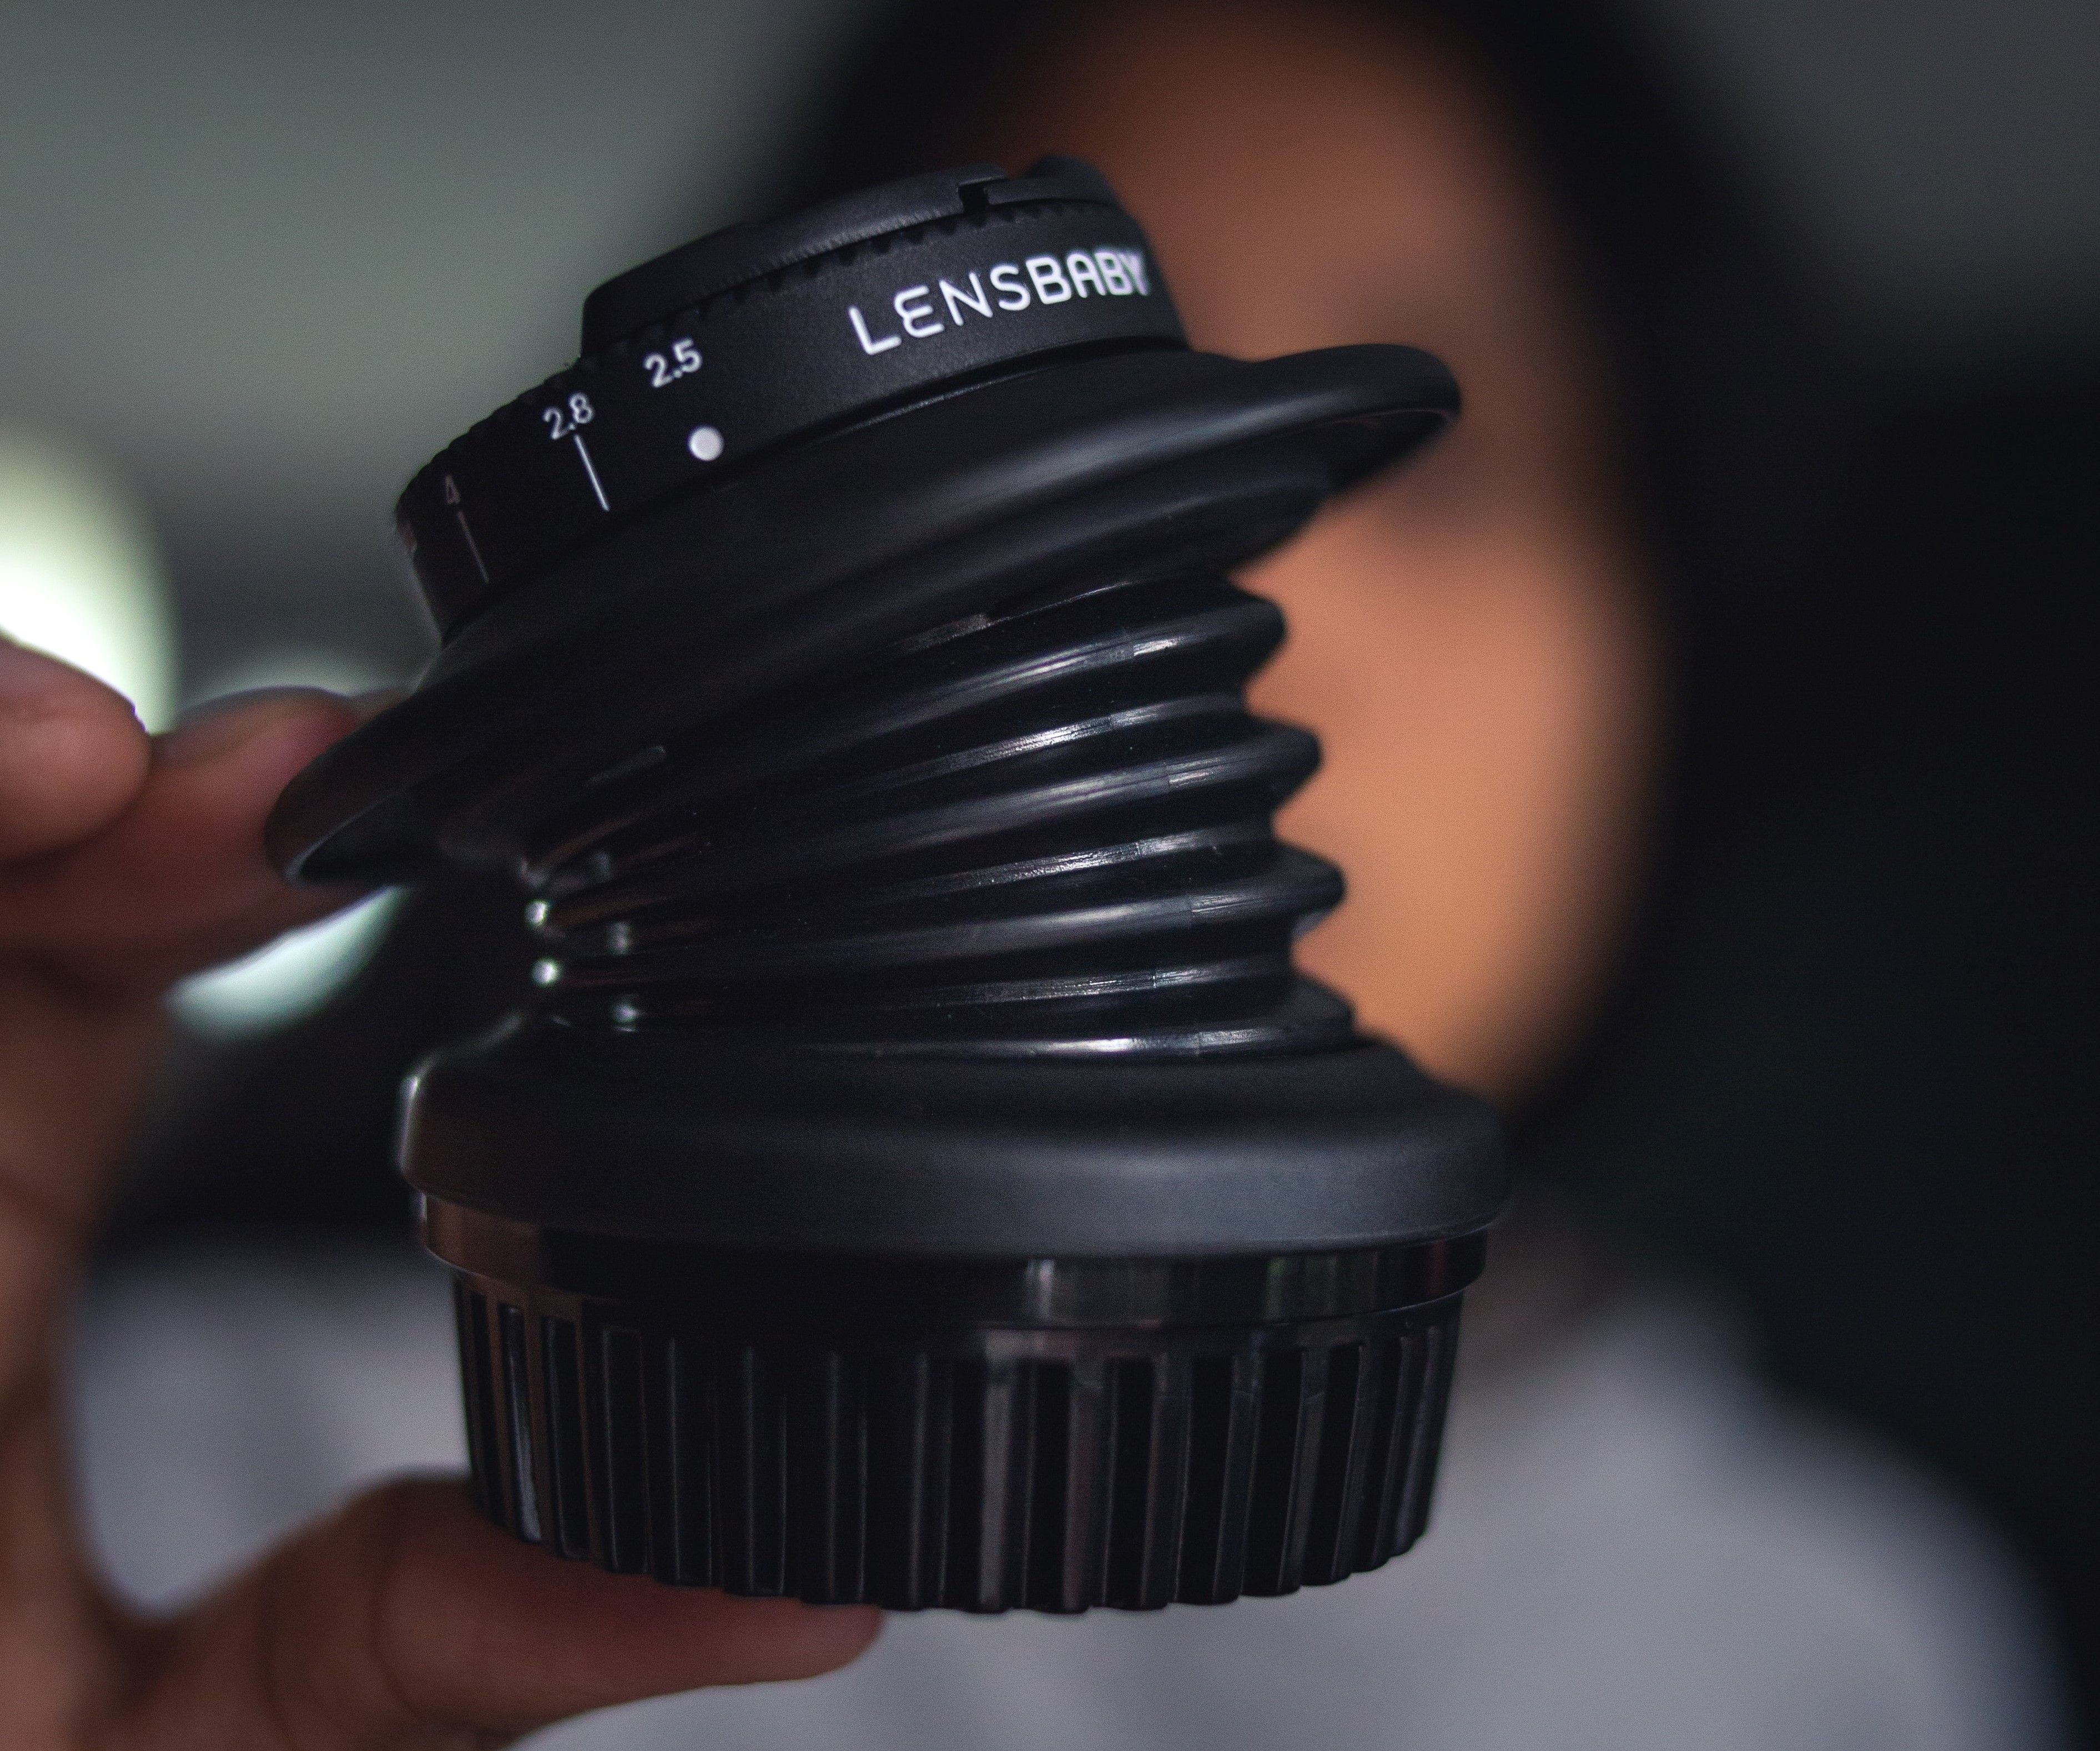
The most difficult part about lens whacking is, without question, holding the lens still enough to get the shot. Bracing yourself against the body of the camera works well if you're able to hold it close enough to the mount. With some compositions and subjects, however, this will be impossible. You will need more distance between the back of the lens and the sensor, or nothing will be in focus.
If you've got a keen will and a strong wrist, you may find that you're fine without any other accommodation or support. Most of us, however, get a little nervous when we're in the hot seat.
Thankfully, Lensbaby and other companies that sell camera accessories, actually produce "mounts" that hold a lens in front of the sensor. It is suspended off-axis as you shoot. These products produce an effect similar to pure freelensing while giving you much more control.
6. Use Only the Element
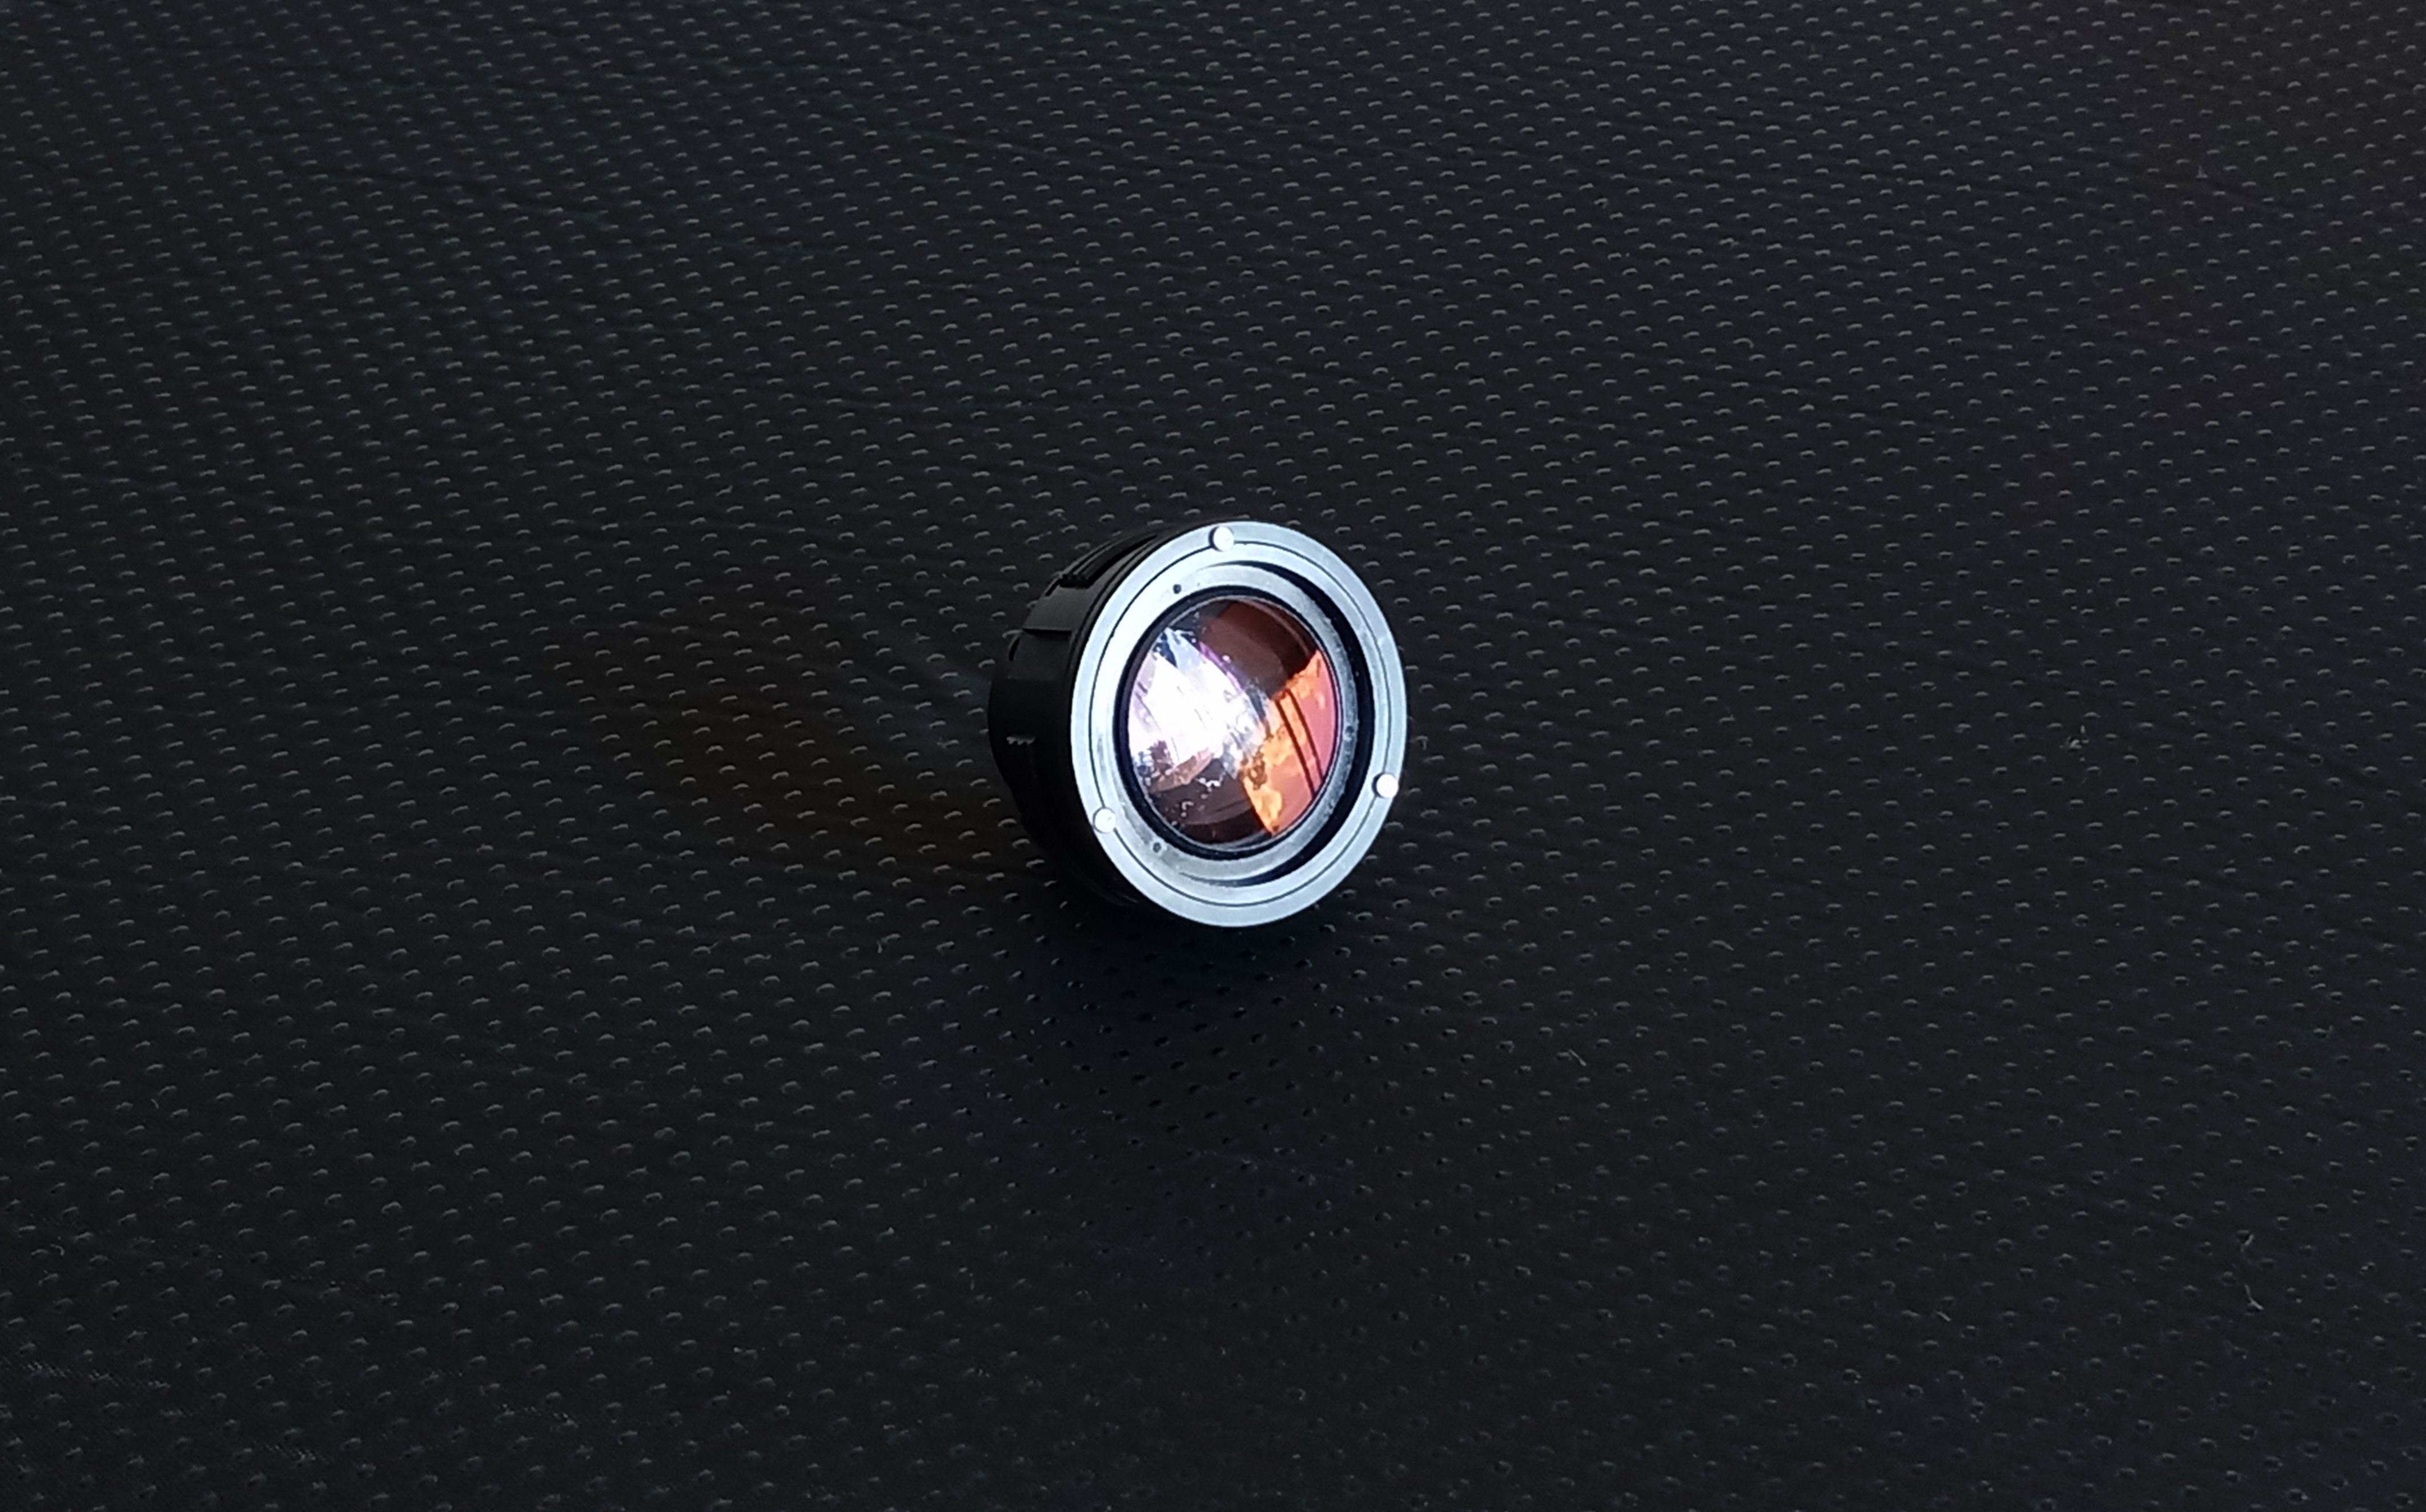
This is one project that we cannot recommend enough. Please do not dismantle any of your L-glass for this one, however. To really get the most out of a naked element, you should hit up your neighborhood thrift store. You're after an old-school SLR lens —preferably a prime lens, one that does not cost a fortune.
Once you've found one, you can do some research online before taking it apart. If your search yields nothing, just follow the nuts and bolts until something happens.
You do not want to cut all the way down to the bone, however. The idea is that you want to put as little as possible between your fingers and the bare glass element itself without touching the glass outright. Take a pause once the part that rotates as you pull focus is free of the outer hull. If you can go no further without hitting the glass, you're ready to rock and roll.
Usually, older lenses are much more suitable for this type of thing, but you can do it with any SLR or DSLR lens if you've got enough spunk. Once you see how much more you will be able to do when the element fits inside of the housing, you'll start to see why working in this way is so much fun.
Never Get Bored Behind the Camera Again
A person can only shoot so many photos before things start feeling stale. Fortunately, every type of photography feels reinvigorated when the lens has been broken free.
Whether you've been shooting for decades or you just started last week, you'll almost certainly feel the sparks fly.
0 Comments