Microsoft Teams has become a popular tool in the work-from-home revolution. As such, users everywhere are brushing their hair and sorting out their suits to take a professional-looking profile picture for their work accounts. Whether you've worked from home for years or just getting started, it’s important to have a good, updated profile picture for your professional accounts.
With this in mind, let’s go over the steps to change your profile picture on Microsoft Teams.
How to Change Your Profile Picture on Microsoft Teams
Microsoft Teams has become a crucial application for online communications, especially since the work-from-home revolution that happened back in 2020. In fact, Microsoft has even allowed people to use Microsoft Teams for personal communication.
If you've been using Teams for a while, you know how a proper account picture can make or break your online perception. And that's why it's important to have good, professional Teams account picture. To change the profile picture on Teams, follow the steps below:
- Launch the Microsoft Teams app.
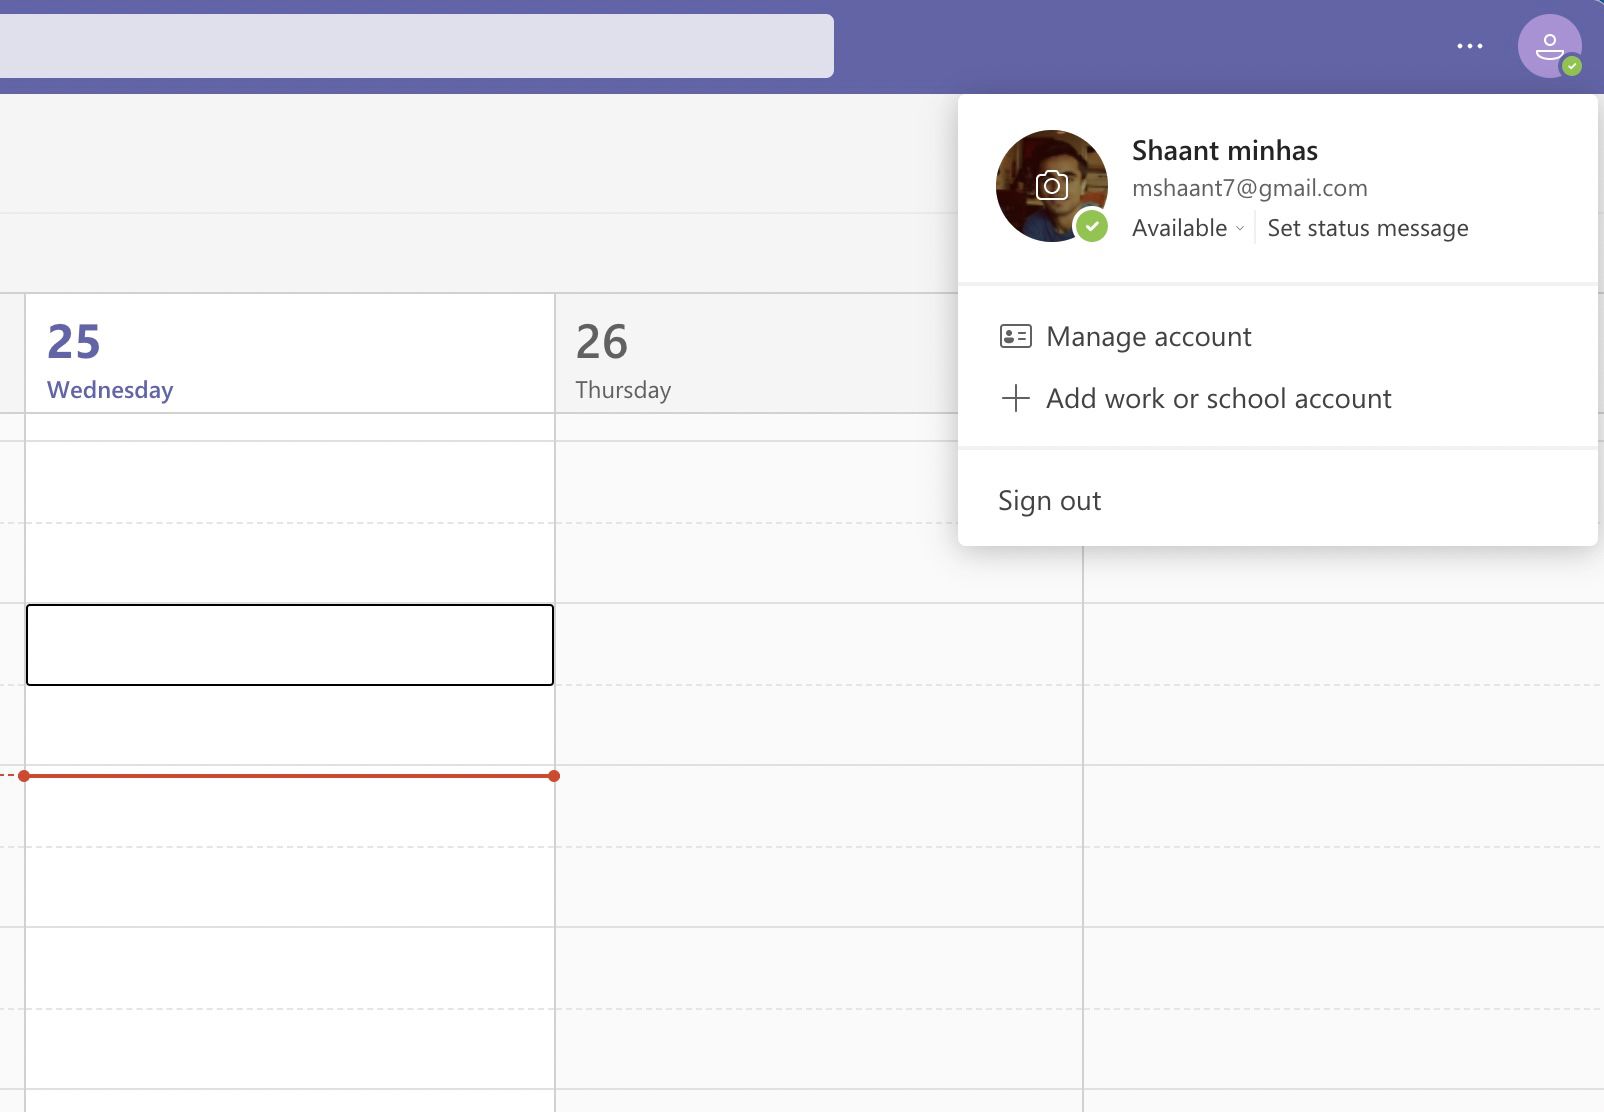
- Click on your account icon from the top-left corner.
- Hover your cursor over the current image, and select the camera icon.
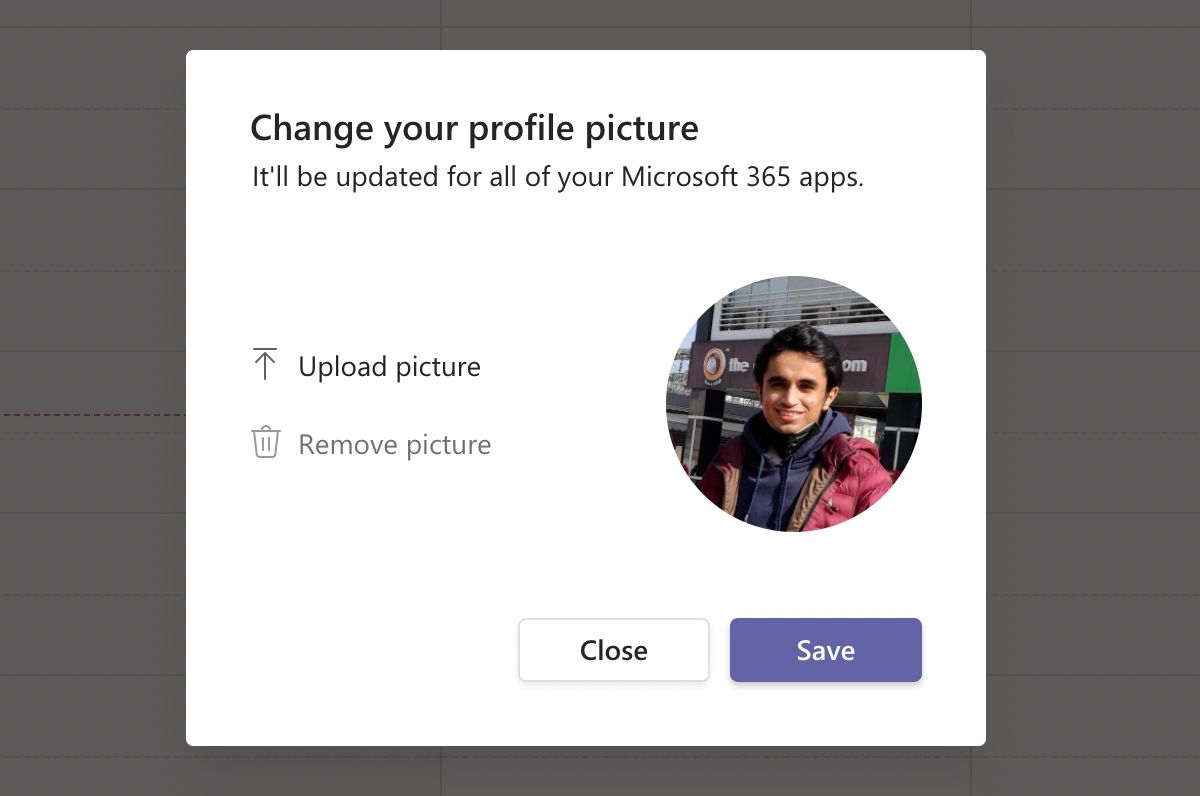
- On the next dialog box, click on Upload picture.
- Select an image smaller than 4 MB and click on Save.


Once done, people will see your new image when you attend meetings.
If you're not happy with the end result and you need a little bit of help getting that professional look to your photo, don't fret. There are plenty of online tools to easily create professional-looking photos to help give you that in-office look from the comfort of your own home.
Changing Your Profile Picture on Teams
Microsoft Teams has become a crucial tool for business communications, especially for people used to the Microsoft ecosystem. Apart from helping you with changes in the profile picture, the Teams app offers plenty of cool features that you should be aware of.
0 Comments