
If you attend a lot of video conferences, a decent webcam is an essential tool to keep you connected with your workmates. Unfortunately, some laptops come with a pretty low-quality camera, and most PCs don't come with one at all. Fortunately, it's easy to buy and set up a webcam on a Windows 10 PC.
As such, let's explore how you can install and run a webcam on your PC.
How to Install a Webcam on Windows 10
Before you can start using your webcam, you need to get it installed with all its proper drivers. Here's how to do that:
- Plug in your webcam into your computer USB port.
- Once they're plugged in, most modern webcams will install their drivers rightaway. You can tell if it's doing so if Windows shows a pop-up at the bottom right, declaring that it's installing drivers for your webcam.
- If your webcam doesn’t automatically install its own drivers, visit the manufacturer’s website and download them from there.
- In rare cases, drivers have to be installed from a CD/DVD that comes along with the webcam.
If your webcam does come with a CD, but you don't have a CD drive to put it into, you don't need to use it per se. Try plugging it in and see if Windows downloads the correct drivers first, then visit the manufacturer's website and download the drivers from there.
How to Test the Webcam on Your PC
Now that you've set up the webcam on your PC, it's time to start testing it to ensure everything looks good before its big debut. You can test the webcam through the Camera app, a free app from Microsoft that captures videos and images from your camera.
To launch the Camera app, go to the Start menu search bar, type camera, and select the best match. Your new webcam will hopefully show your face on the screen.
If you're using a laptop, there's a good chance that the Camera app will default to its built-in camera, even if you've taken the time to install an external webcam. To use your new webcam, click on the Change Camera icon from the top-right corner to change the active device from the laptop webcam to your external one.
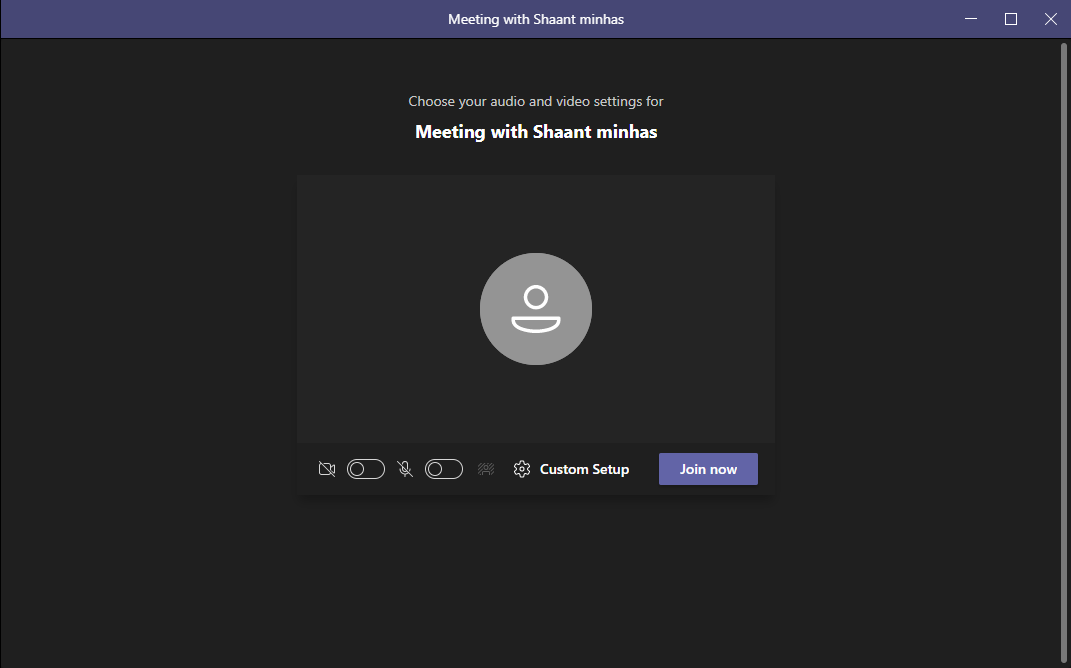
Alternatively, use can also use a third-party app to check your webcam, such as Microsoft Teams. Launch the Teams app and click the camera icon to begin a meeting. Set a meeting name, and select Start meeting, and your new meeting will be launched.
To use your new webcam, toggle on the camera button, and you're good to go.
Installing and Running a Webcam on Windows 10
A quality webcam can make a lot of difference in image quality during meetings. This is especially true for people using low-end laptops or personal computers (in which case, there's no camera at all). Hopefully, you were able to successfully install and use the new webcam on your Windows computer.


0 Comments