
If you’ve got your hands on Windows 11, then chances are you’re still trying to figure out its new features. For example, when you want to take a screenshot and annotate it on Windows 11, it begs the question: is there a way to screenshot on Windows 11 that doesn't involve pressing Print Screen and pasting the result into Paint?
Fortunately, the Snip and Sketch tool is the perfect solution to this problem. So, let's find out how to take a screenshot on Windows 11 using the Snip and Sketch tool and how to make the most of its features.
How to Take Screenshots With Snip and Sketch
The Snip and Sketch tool was added to Windows 10 as part of Version 1809. It was so handy, Microsoft decided to bring it along for the ride to Windows 11, where it comes preinstalled with the operating system.
The Snip and Sketch tool is a powerful native utility that lets you take screenshots and sketch over them for illustration purposes. It's useful to have on-hand if you don't want to, or cannot, download a third-party tool for taking and annotating screenshots.
Here's how to take screenshots on Window 11 with the Snip and Sketch tool:
- Launch the Start menu by clicking the Start button or pressing Win.
- Type Snip and Sketch and click on the Best match.
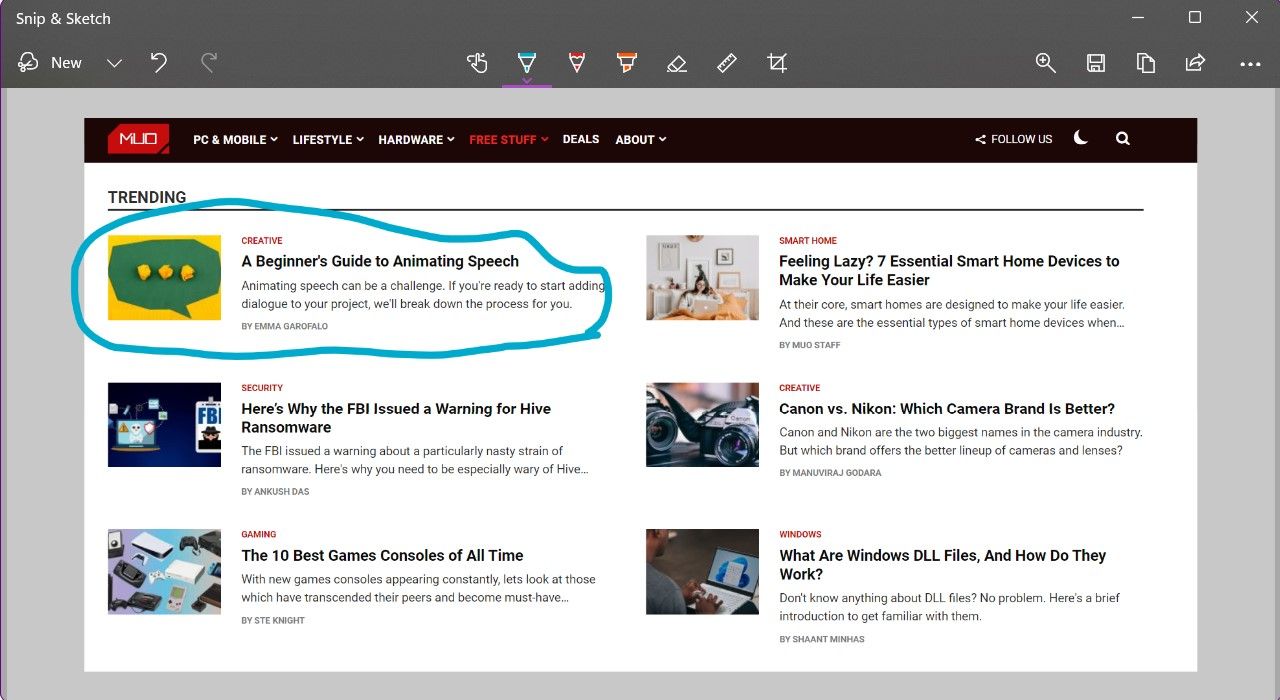
- Click on the New button to take a free rectangular snip of your screen.
- If you want to schedule a screenshot for the next few seconds, you can click on the dropdown button and click on the required time interval.
- After you’ve snipped the screen, you can go ahead and sketch over it with the available pens and markers. You can also crop it, save it, or print it out as per your need. You can even share it with an email contact or add it to Microsoft OneNote.
How to Take Screenshots With the Snip and Sketch Keyboard Shortcut
Going through the Start menu to take a screenshot can get really annoying if you've got an itchy photo finger. Fortunately, there is an easier way of taking screenshots using the Snip and Sketch utility on Windows 11. All you need to do is hit the right key combination:
- Open the window you want to screenshot.
- Press Shift + Win + S. You'll know the Snip and Sketch tool has activated because the screen will darken.
- In the menu that appears on the top of the screen, select the snip shape (usually you want to go with Rectangular Snip) and select the area that you want to capture.
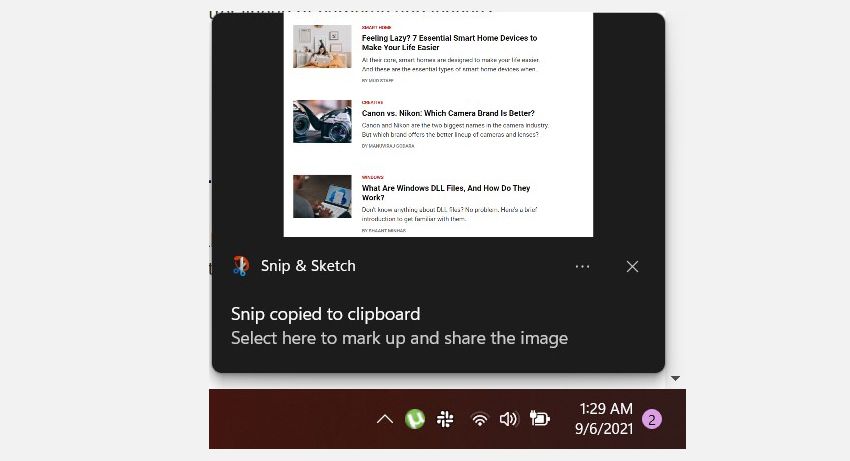
- Click on the Snip and Sketch pop-up that appears above the right of the Taskbar to edit the snip.
- You can now sketch over your screenshot, print it, copy it to the clipboard, or save it for future use.
Taking Screenshots Is Easier Than Ever in Windows 11
Windows 11 has brought plenty of new changes, but simple tasks like taking screenshots are more accessible than ever. You can take a quick snip, sketch all over it, and use it as needed in just a few moments.


0 Comments