After a revision, the branch is the most important concept in version control. Git is no exception, and it encourages the use of branches more than most. They're easy and quick to work with.
How you use branches depends on the project you’re working on—if it’s not your own project, the maintainer will typically decide for you.
You could have just the default main branch and a single develop branch. Or you could use a new branch for every feature and bug fix. Either way, you’ll find many occasions when listing available branches is a very useful tool.
What Is a Branch?
Version control systems like git use the term branch as an analogy with trees. Each branch emerges from another, eventually ending up back at the trunk. Branches allow you to create individual lines of development so you can work on them in isolation without disturbing other sections of the project.
How to List Branches on the Command Line
The command line is a fast, efficient means of using git. You’ll need to remember a lot to master it, but the command line program will always offer full support for all of git’s many features.
List Branches With git
The default command-line tool is git. The main subcommand for working with branches is branch. By default, this command lists branches, so:
git branchwill output a list of branch names, for example:
* maint
  master
  next
Note that this command lists branches in alphabetical order and highlights the current branch with an asterisk. You should also understand that the branches shown are local only.
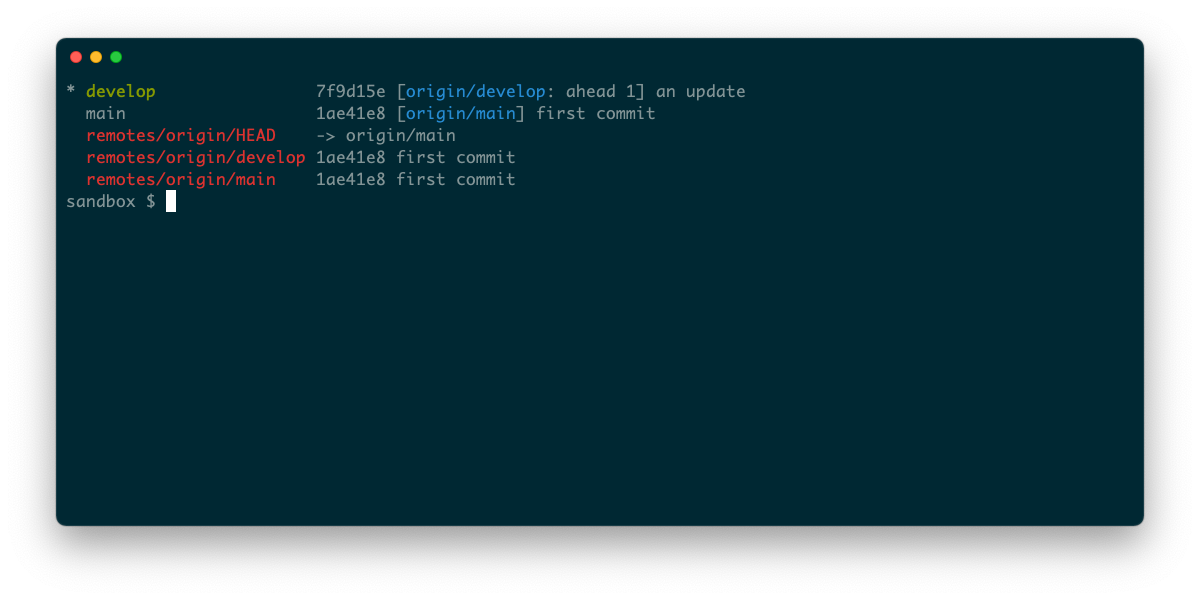
To see remote branches, use either the -r flag to show only remote branches, or the -a flag to show both local and remote. You can view more detailed information with the -v flag and even more detailed information with -vv.
git branch -vvaThis will give you lots of useful information including highlighting which local/remote branches are in use and which branches track others.

You can use the --list option to search for branches by a pattern. This is very useful if you’re dealing with many branches, such as when a project uses one branch per bug fix.
git branch --list 'm*'Browse Branches Using gh
The gh program is GitHub’s command-line tool. If your repository has a remote hosted on github.com, you can use gh to manage it. Most of the core commands are specific to GitHub, dealing with Issues or Pull Requests, for example. But extensions are now available and this gh-branch extension can help list branches.
Once installed, simply enter:
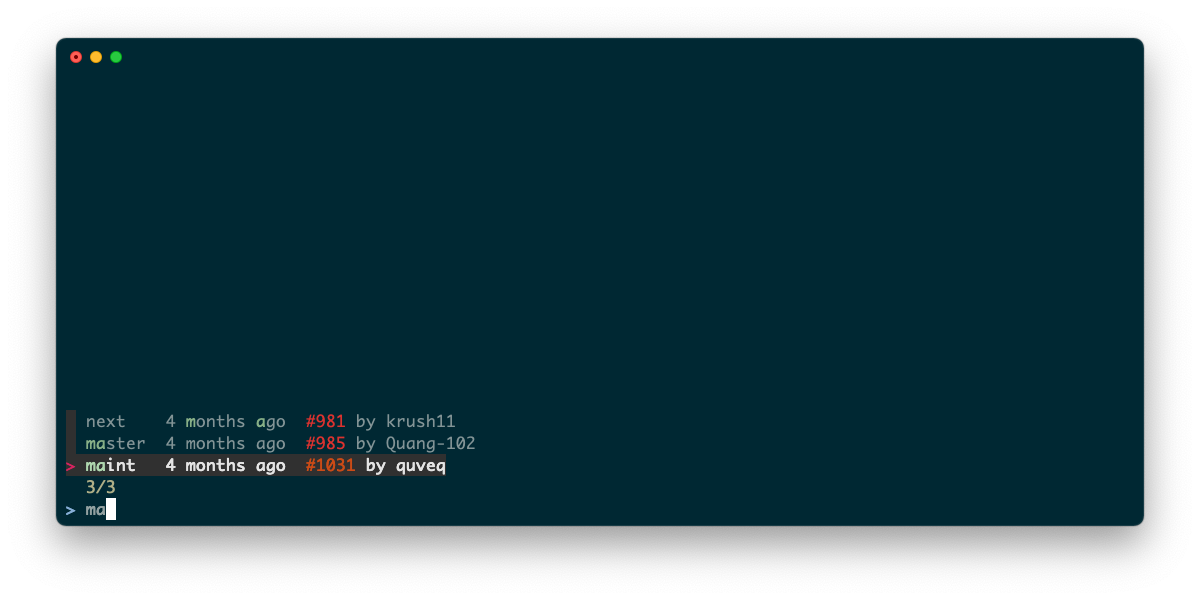
gh branchIn a GitHub repository directory, you’ll see a list of all branches apart from the current branch. You can type to filter by branch name, and select a branch to switch to it.

How to List Branches Using GitHub Desktop
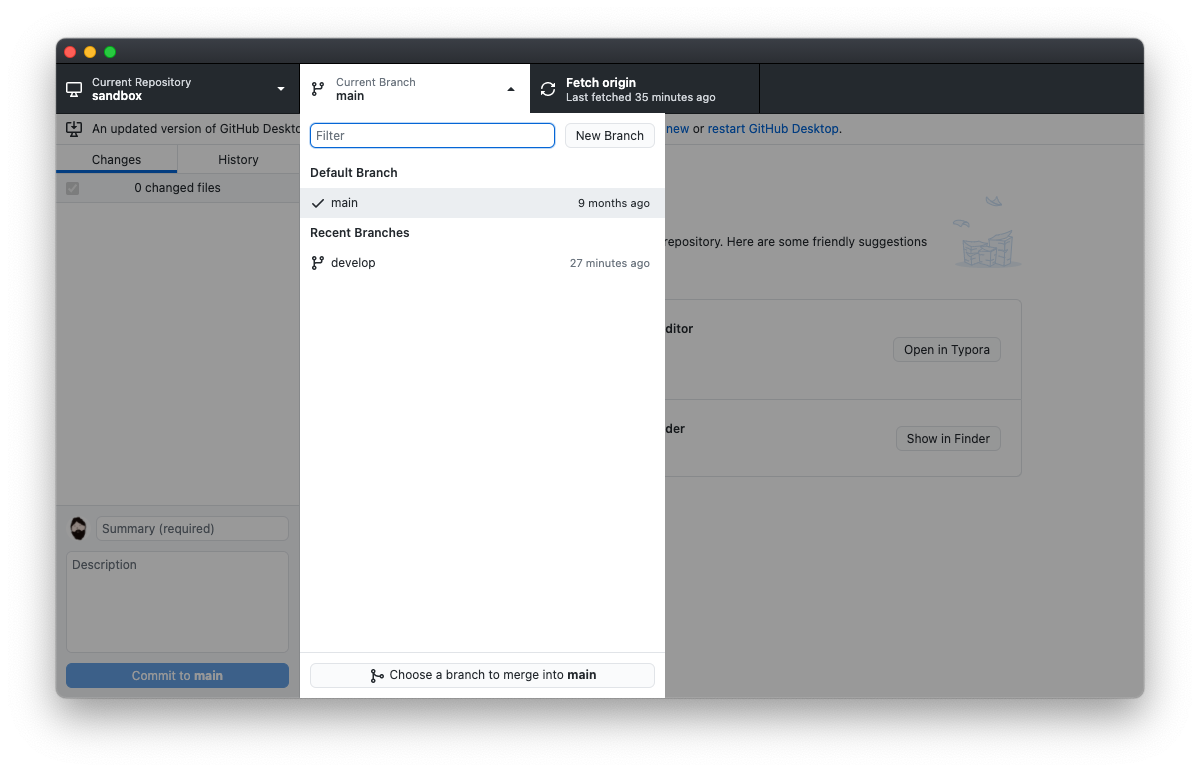
GitHub Desktop displays local branches in the main UI. At the top of the window, you should see a button labeled Current Branch with the active working branch displayed underneath. Press this to show the default branch and recent branches. You can also type in the box marked Filter to search for specific branches by name.

How to List Branches on the GitHub Website
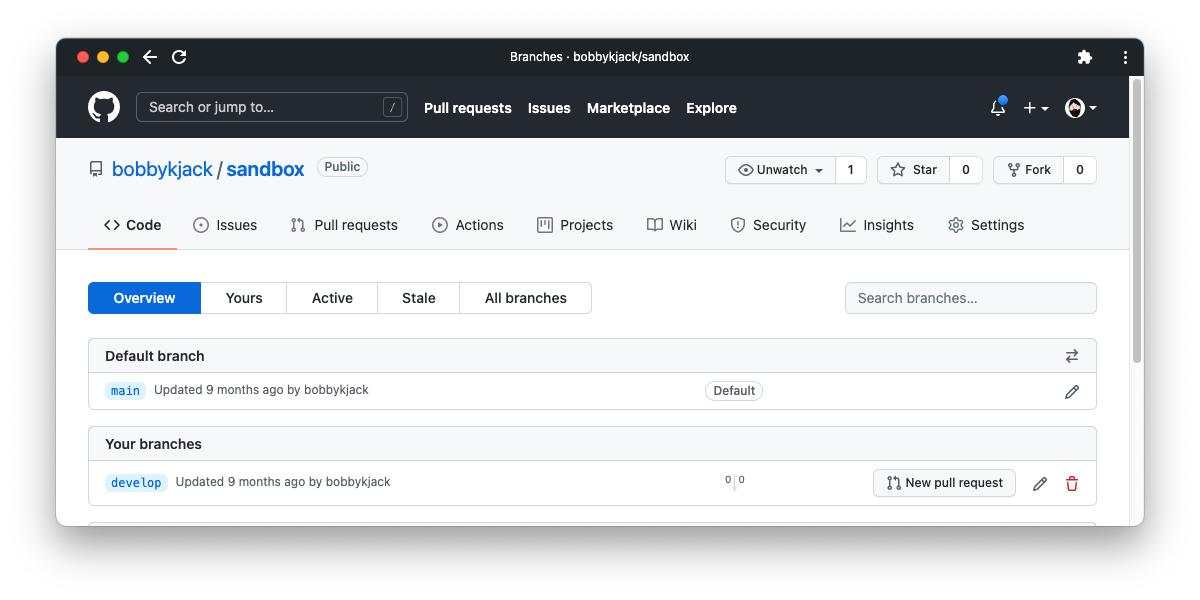
If you host your project on GitHub, you can view all its branches from its project page. Start by navigating to the project’s Code tab, then click the link referring to the number of branches. You’ll see branches grouped by status including an All branches option.

Explore a New Project via Its Branches
You can often learn a lot about a project simply by listing its branches. It will vary, but you might find out what features others are currently working on or how many bugs are active. You’ll also need to know which branch you’re in from time to time.
Another excellent way of getting to know a project is by viewing its revision history. The git log command is a very powerful means of discovering what changes have taken place.
0 Comments